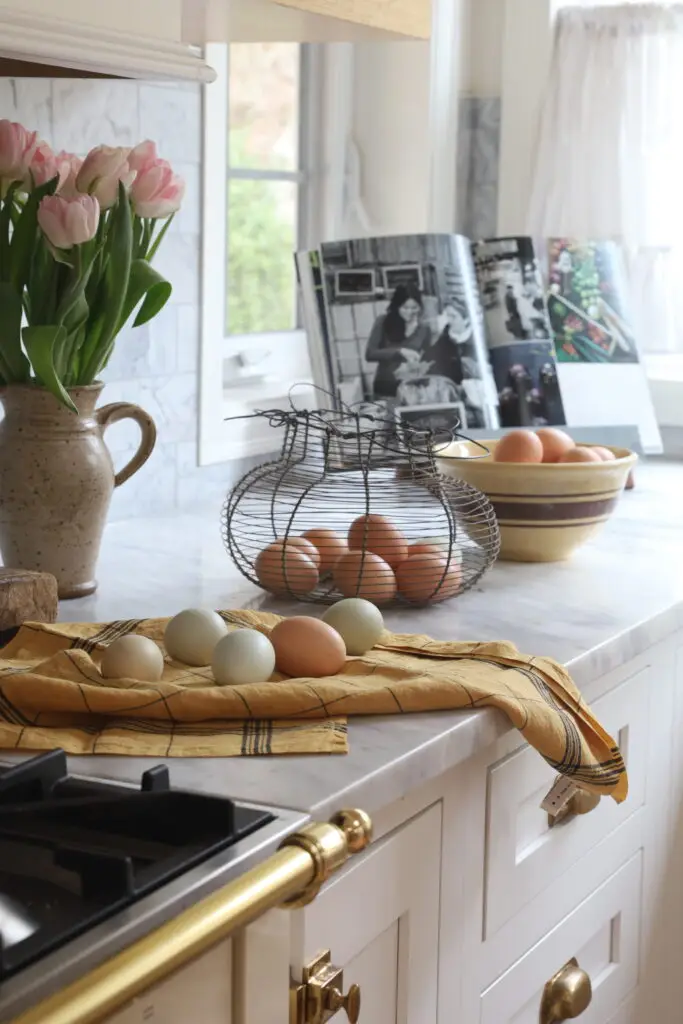
Today I’m sharing a No-Knead Recipe to Make Sourdough Bread. If you’ve never tried to bake bread, give it a try! It’s not as difficult as you might think. I like this recipe because it’s fairly flexible and works well with my schedule. The dough rises overnight in the refrigerator and you can bake it the following morning. I’ve included lots of learning resources in this blog post to help you get started!
I am so excited to finally share how to make your own bread, my personal sourdough journey! My sourdough journey began a couple of years ago when I was gifted sourdough starter. I tried making a few loaves and they were dense and heavy. At that time I felt it was easier for me to purchase a store bought loaf.
This blog post may contain affiliate links. Please read my disclosure policy.
Flash forward a couple of years and a move out to the country, I felt the need to try again. Moving to a remote area as inspired me to be more self-sufficient and waste less. We are not farmers or homesteaders in a literal sense, nor do I claim to be an expert on gardening, canning, or baking bread, but I have started my journey and I’m enjoying it so much I wanted to share it with you.
As you are aware by now, we about to start construction on our new home. There’s no point in setting up house or physically moving in this home as we will need to shift from room to room, stay in hotels, and so on during the construction. I say this because I’m feeling anxious and a little stressed. Bread baking has been therapeutic during this disruptive time.
TIP: When trying various recipes, find one that works with your schedule. Read through the entire recipe (a couple times!) before you commit. It will seem initially like an overwhelming and time consuming process. That’s to be expected! Just commit to making 6 loaves of bread to practice before you through in the towel. Once you master this, it’s so easy!
When it comes to bread making, I knew from the get-go that I’d need to bake maybe a dozen loaves to get it right. That’s okay .. and that’s what happened. It takes time to get the feel of bread making and your sourdough starter needs to be healthy.
How to make your own bread | my sourdough journey
There are books written on the subject and more YouTube videos and blog posts (also here) than you will ever be able watch. Today I want to not only inspire you to try but also to provide with with a variety of learning tools so that you can begin your sourdough bread making journey. What I like about this recipe is that the timing is flexible and there is no kneading. The proofing or rising schedule is flexible and depends on your house temperature. If you leave the bread in the refrigerator a bit longer than the directions say, chances are good that you’ll be fine.
Is it better to use sourdough starter or yeast for bread baking?
You can use yeast or sourdough starter. I use sourdough starter because there are potential benefits to adding fermented foods to an otherwise healthy diet. Some studies say that sourdough acts as a prebiotic, which means that the fiber in the bread helps feed the “good” bacteria in your intestines. It’s my opinion that it’s probably better to consume foods that can help maintain a healthy digestive system rather than taking expensive OTC capsules. Sourdough is also lower in gluten than other forms of bread so if there are gluten sensitivities this might be an option.
Bread making tips
- Buy a scale. I will refer you to this blog post if you want to make bread using cups rather than grams. My recipe is in grams. Grams are more precise and because I am not a professional baker, I need all the help I can get. Unlike a cooking a roast, baking bread is precise and science is involved. For that reason I wanted to remove the variable of inaccurate measurements. The scales are inexpensive and fit in a small space. I store mine in my cabinet above the counter.
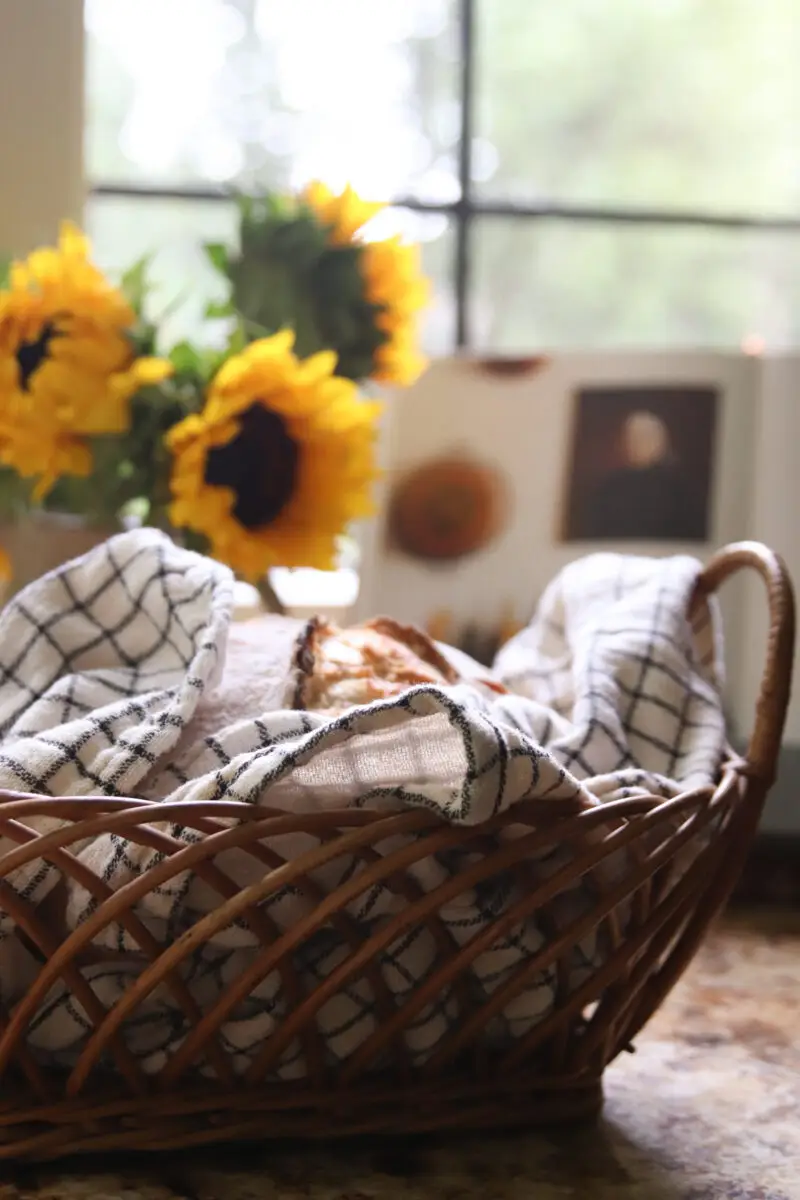
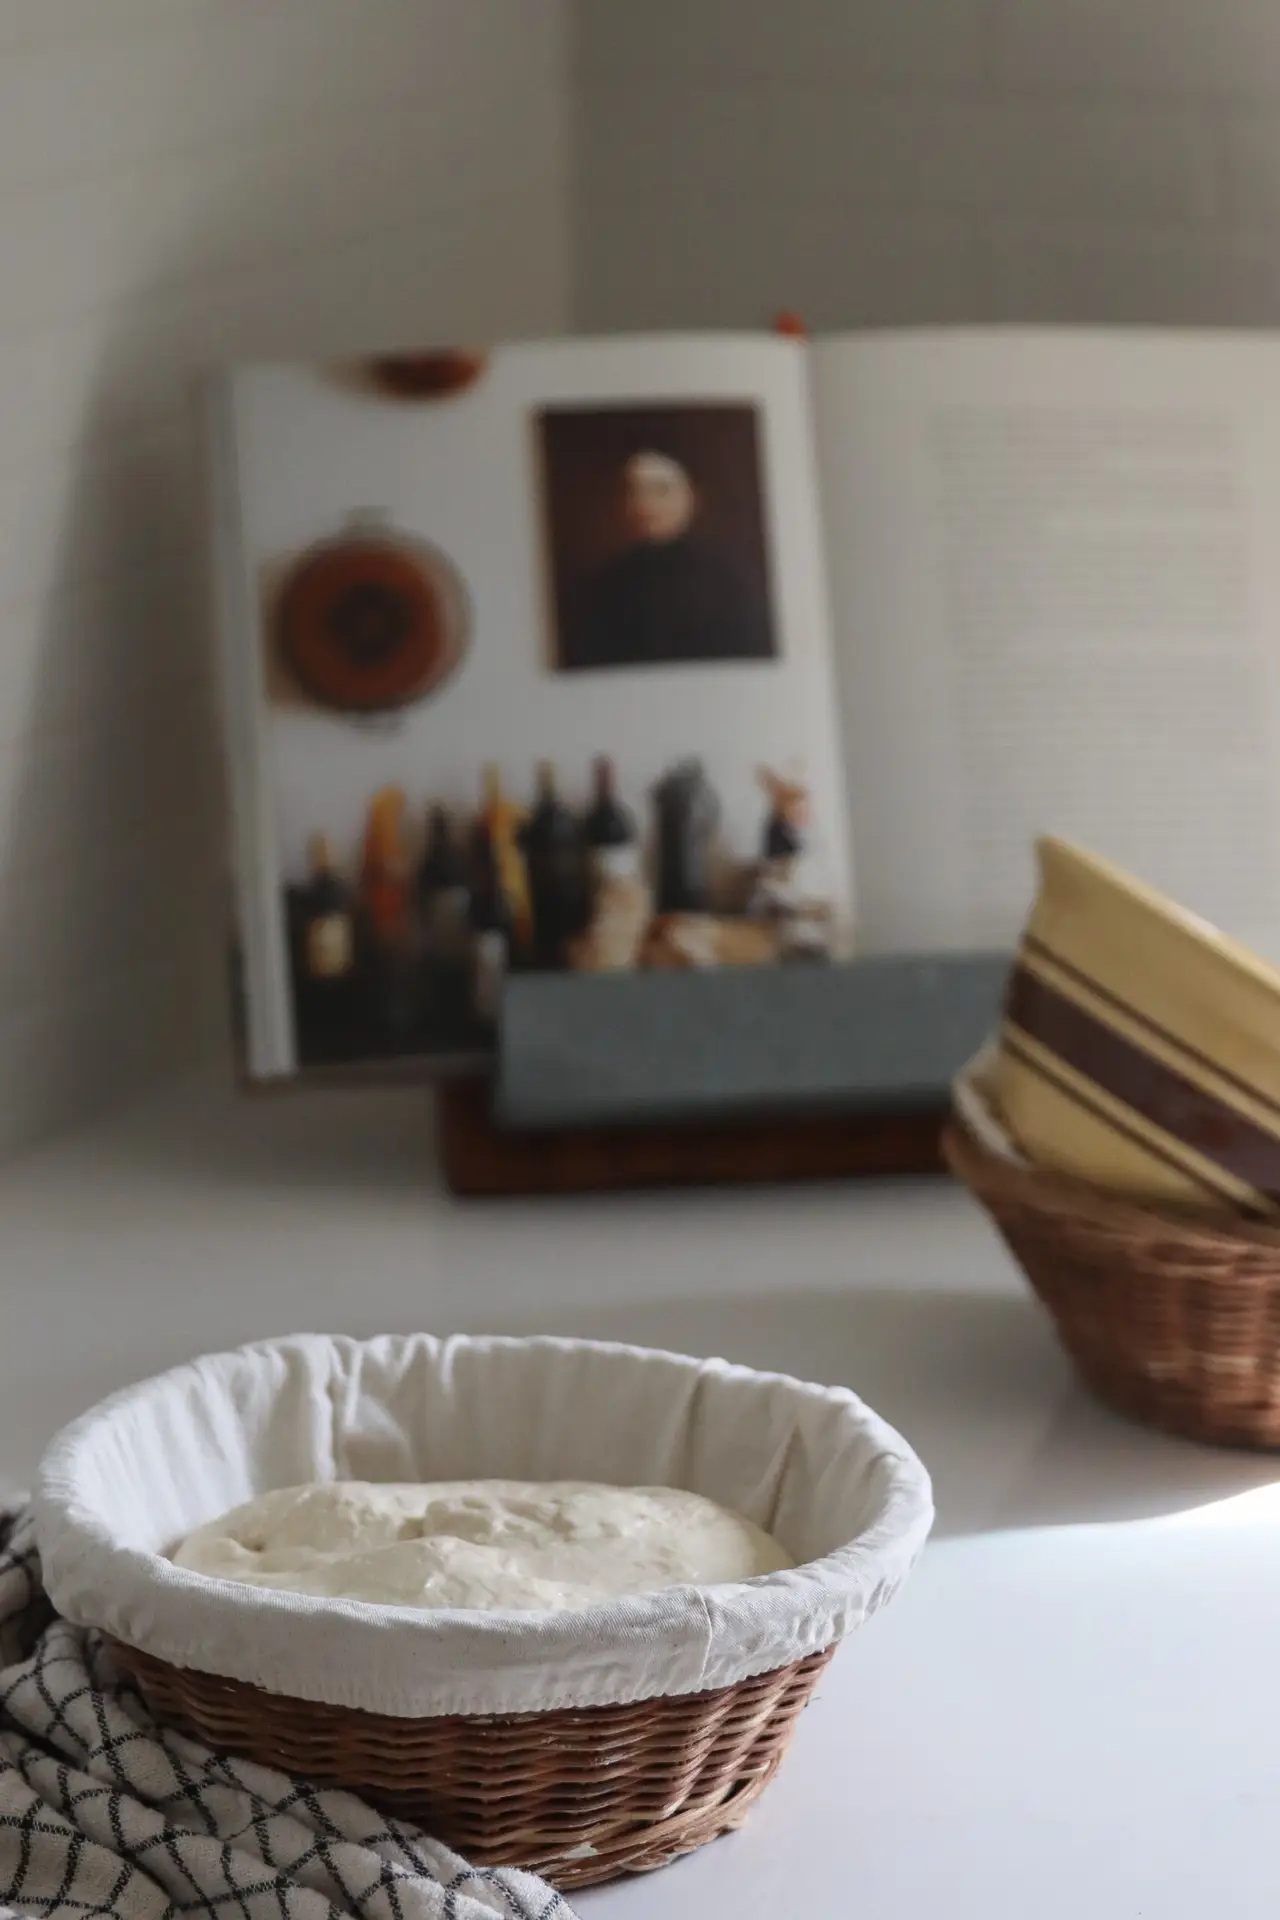
- You will also need a bowl for your bread to proof (rising). I use a clear glass bowl to prepare the dough and a banneton for the final proofing. This isn’t necessary but, again I felt that having all the right equipment going into the learning process would help with the learning curve. If you are using a banneton, it’s recommended that rice flour be used to on the linen liner. All-Purpose Flour retains too much moisture and cause the bread to stick to the basket.
- Lear how to stretch and pull the dough. I recommend watching a few YouTube videos so you get the process down. There are lifts, stretches, and pulls that need to be done and your technique is important. There are lots of videos, just Google how to stretch and pull sourdough.
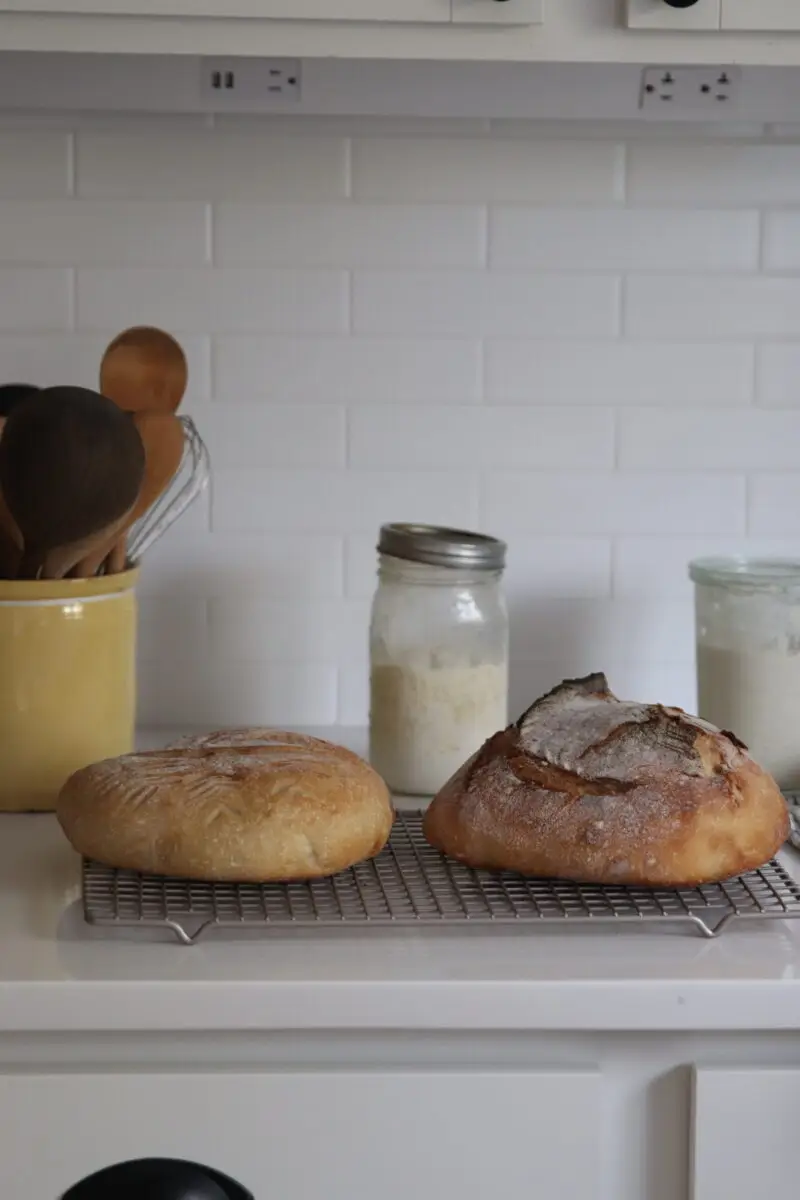
- Go into this process with the understanding that you will probably make a dozen loaves that aren’t perfect. It takes time to understand the look and feel of the dough and the process. I’m still learning!
- Begin with a healthy starter. You will need to make your own or purchase starter on line. Follow the instructions and be patient. It will take a couple weeks to get your starter ready to bake with. Once the starter doubles in size and passes the float test, it’s ready to bake with!
- *Try different recipes. They are all basically the same with just a small adjustment in water or flour. Keep in mind that the recipes you follow will be using a specific flour and starter. Yours won’t be exactly the same so that might result in a different bread outcome.
- Sourdough is a very wet and sticky dough and will stick to the bowl and your hands. Try to avoid adding extra flour. Instead, dampen your fingertips or hands prior to working with your dough. A bench scraper is also helpful.
- Remember that recipes for bread making a mostly a guide. They are all very similar. The beautiful loaves come after lots of practice. If your dough is not round, bouncy and sort of springy then it’s likely that it needs more rising time. When the dough is ready to be baked it should be round and bouncy.
- Scoring bread is very important as it helps the inside of the bread release moisture. You will need to use a sharp razor blade or bread lame for this process. Here’s a quick video showing you how to score with a knife, scissors, and blade.
- The amount of time it takes for your dough to double can be determined by many factors: temperature in your home, how mature your starter is and the hydration status of your dough.
*Sourdough Bread Recipes to Try
Easy overnight sourdough recipe
What is a proofing basket?
A proofing basket, also known as a banneton basket, usually round or oblong, is used to give shape, structure, and even pattern to bread during the leavening process.
Do I need a banneton basket for making bread?
No. You don’t need to purchase this however the banneton is lined and gives the dough a nice shape and is designed for proofing dough. If you choose to not use a banneton, you will need to line your bowl or dutch oven with parchment paper or cotton or linen cloth.
Helpful tools for bread making
- Mixing bowls
- Parchment paper
- Dutch Oven
- Kitchen Scale
- Scoring Knife
- Bread cutting knife
- Banneton basket
- Linens
- Starter jars
- Shower caps (to cover bowls)
- Cooling rack
How to make your bread using a sourdough starter
Remove your sourdough starter from the refrigerator 6 to 12 hours before starting your bread. You will need to feed your starter and wait for it to almost double in size and is active and full of bubbles.
Once your starter is ready, get your scale out and set to zero. Add sourdough starter to your bowl.
Set the scale to zero again (keep doing this between steps) and add room temperature water reserving about 10 grams to mix with the salt. Mix with a fork or your hands until milky.
Add flour and mix. Dough will be sticky. Allow to sit for about 30 minutes and then add the salt.
Mix with hands for a couple of minutes and allow to sit for about 30 minutes.
Over the next 2.5 to 3 hours, do 3 stretch and pulls. Cover and allow to sit in a warm spot.
After the last stretch and pull, cover with saran wrap of shower cap and refrigerate overnight.
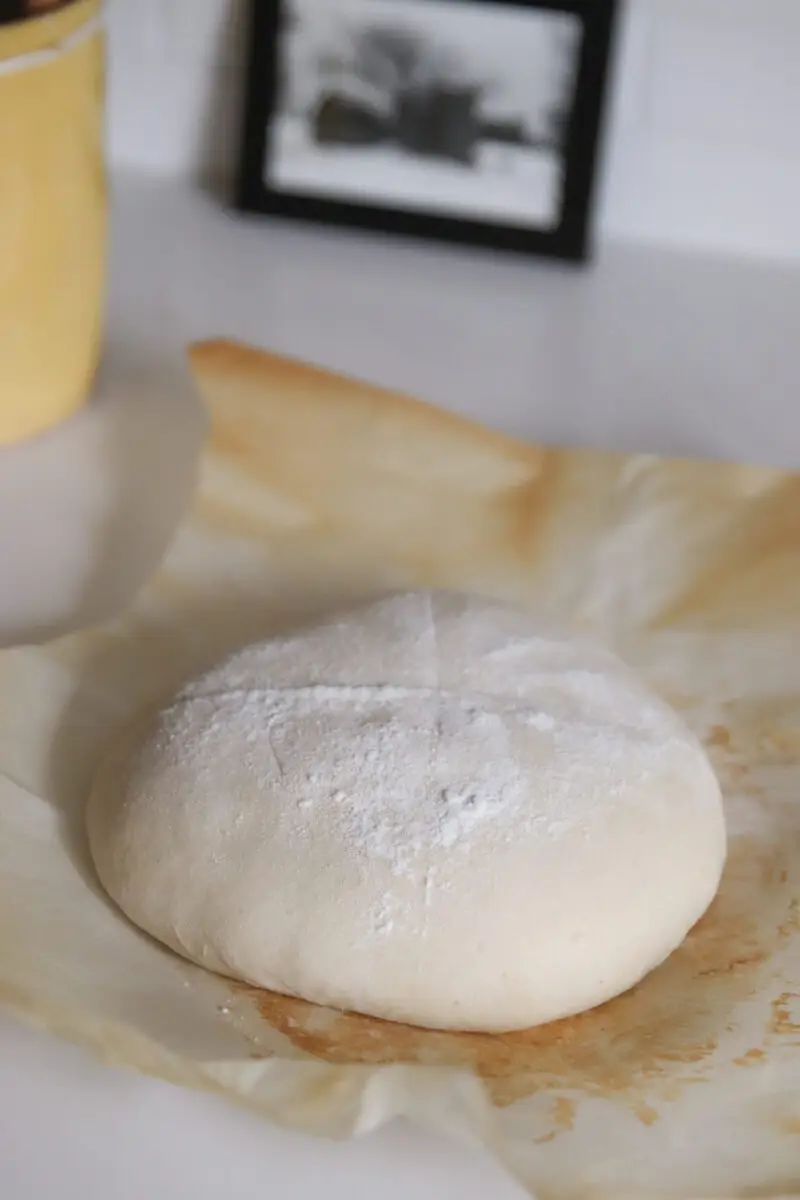
The next day remove your dough and allow to sit on the counter for 20 minutes. Lay your dough on a lightly floured surface. Pull apart, making a rectangle. Fold sides in and roll your dough. Cup with your hands and rotate making the letter C. Push your dough forward and pull it back towards you a couple of times to create tension in the dough.
Place dough, seam side down, in banneton bowl lined with linen and with a sprinkling of rice flour. Allow to rise for 2 or 3 hours (almost double in size).
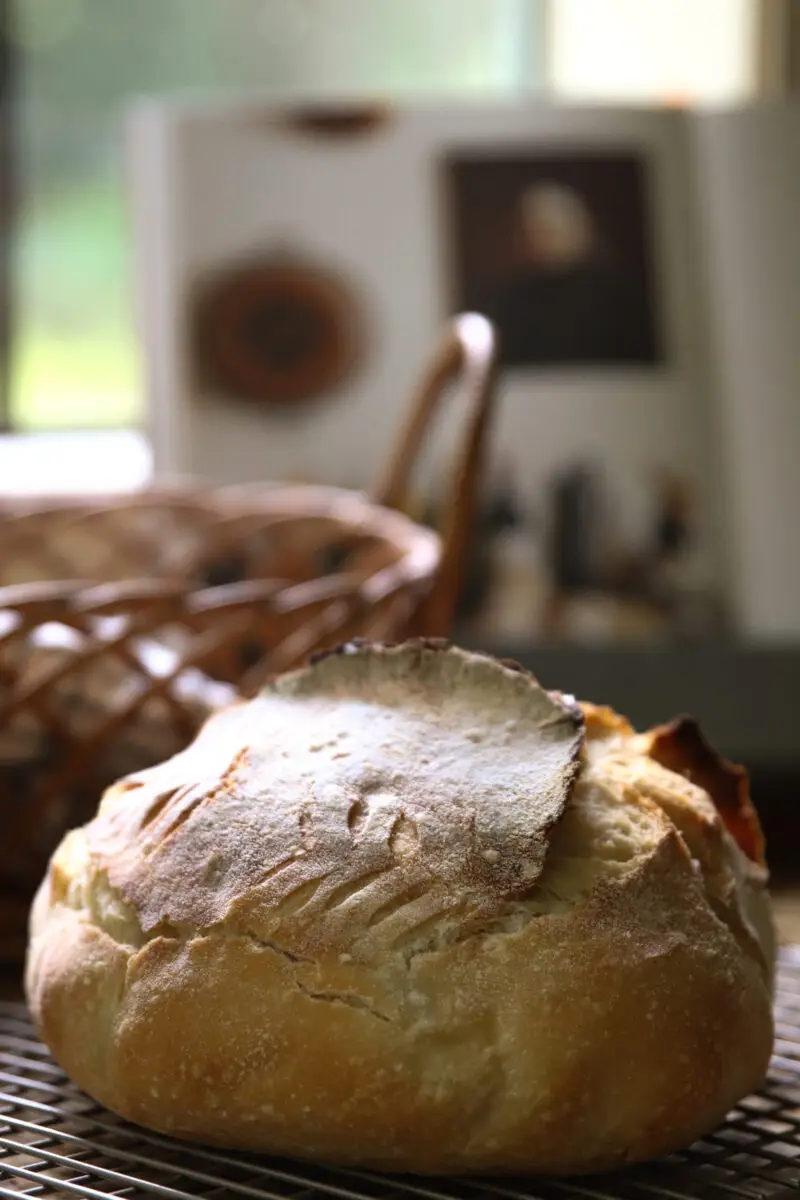
Place your Dutch Oven in a preheated 450 degree F. oven for 30 minutes. Once your dough is ready, remove from the banneton basket and place it on parchment paper.
Score the bread and place the dough carefully into your hot Dutch Oven.
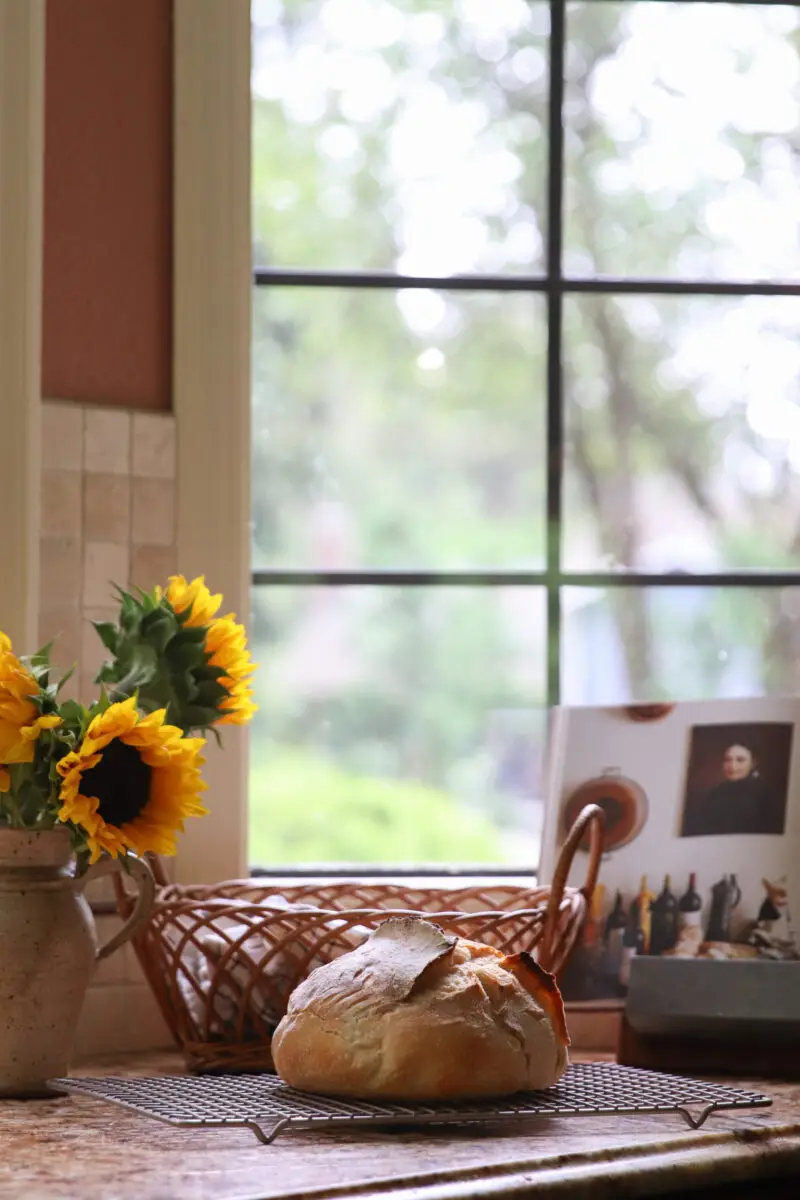
Bake for 25 minutes covered. Remove cover and bake for another 10 minutes.
Remove bread and allow to cool for an hour on a cooling rack prior to slicing.

How to make sourdough bread | no-knead recipe
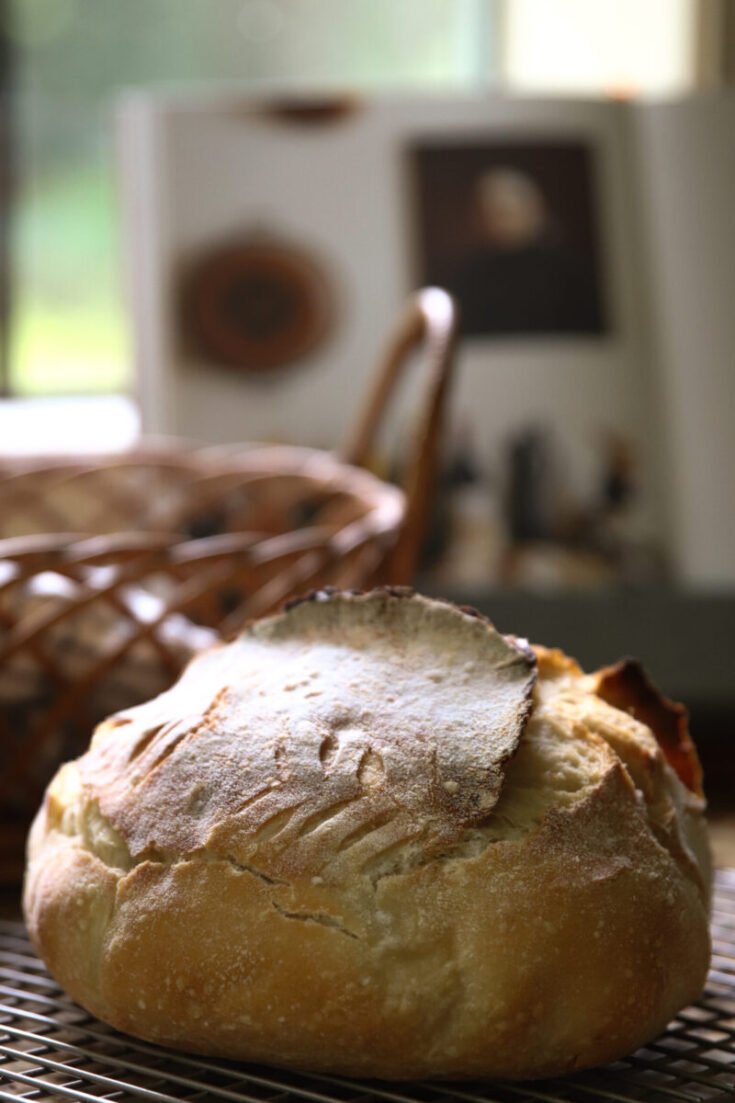
Try this simple crusty sourdough bread recipe! No yeast or kneading required!
Ingredients
- 500 g unbleached all- purpose
- 130 g mature starter (active and bubbly)
- 360 g water
- 10 g salt
Instructions
Feed a sourdough starter 6-12 hours before starting the bread. To feed my starter I add 30 g starter to a clean jar. Add 125 g water and 140 g white, unbleached flour. Stir to combine and cover. Allow to sit until double in size and bubbly. Starter likes it warm. I keep my starter in a sunny warm spot that is about 75 degrees F.
Get out your scale and set to zero. You will need to set to zero between each step. Add sourdough starter and water reserving about 10 g to combine with salt later.
Mix with your hands or a fork until milky, cover and allow to sit for 30 minutes.
Add salt to 10 g water. Stir and add to dough. Mix with your hands for about 2 minutes.
Cover and allow to sit for 30 minutes.
Remove cover and do a lift and pull. I usually do this 4 times, making my way around each side of the dough. The dough might still be a little bit sticky.
Repeat this process three more times over the course of two or three hours.
Using saran wrap or a shower cap, cover the bread and refrigerate overnight or up to 12 hours.
Remove from refrigerator and allow to sit for 20 minutes.
Put bread on a lightly flowered surface and pull out corners creating a rectangle.
Fold in the sides and roll up into a ball.
Cup with your hands, making a C. Push the dough away and pull it back to create friction in your dough. Do this several times. Your dough should feel firm and bouncy.
Place top down, seam up in a banneton basket. Cover with a linen and allow to almost double, about two or three hours.
Preheat your oven to 450 degrees F. Place the Dutch Oven inside for 30 minutes. While that's heating, turn your dough out onto parchment paper. Score and then carefully place the parchment paper and bread into your HOT Dutch Oven.
Bake covered for 25 minutes. Remove cover and bake for an additional 10 minutes.
Remove the bread from the Dutch Oven immediately and place on a cooling rack. Allow to cool for an hour prior to slicing.
Wrap tightly to store.
Notes
Enjoy the process! This takes patience. Read, learn, practice!