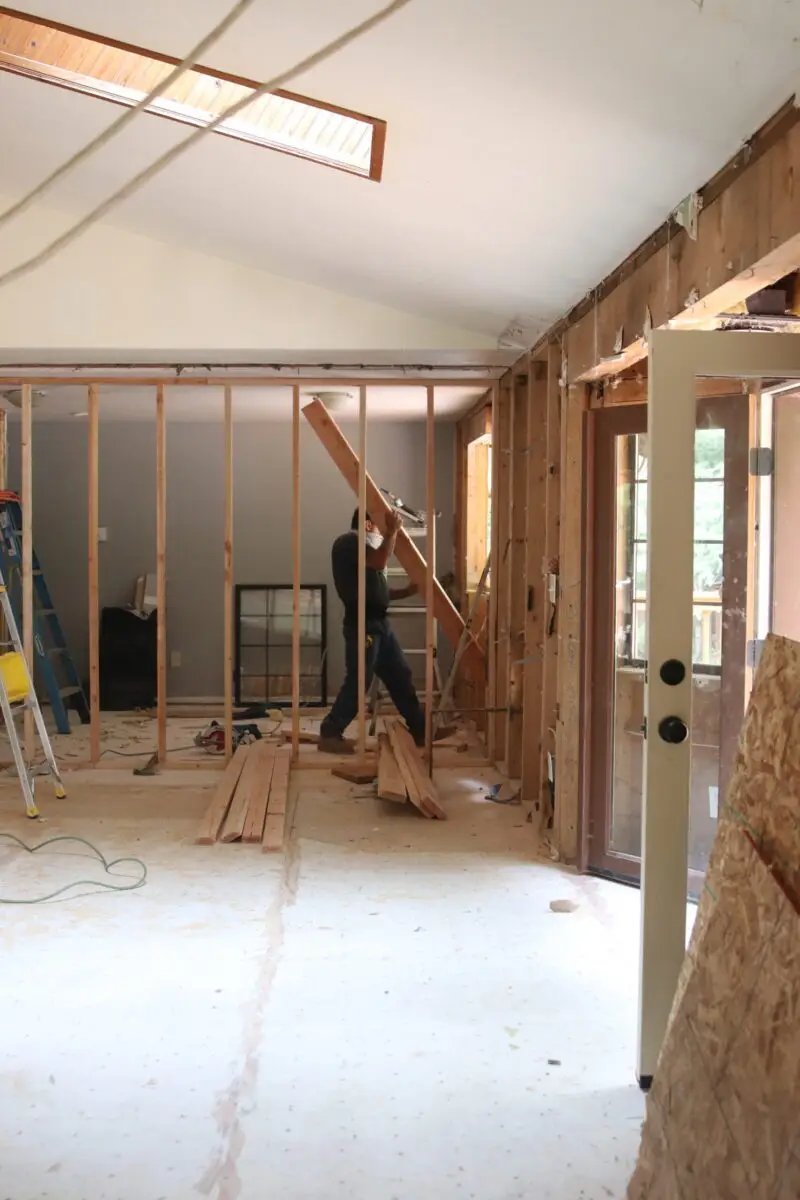
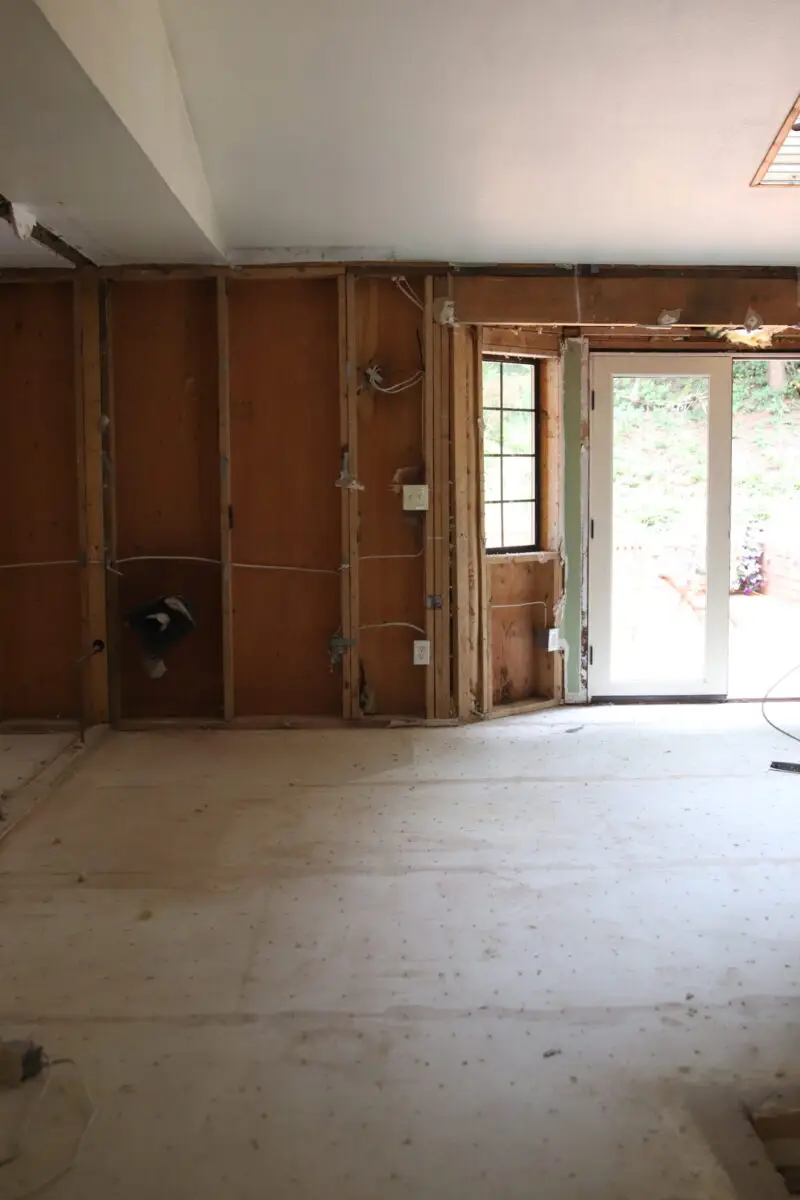
Our house project is moving right along and we are scheduled to move in the last week of October. If you’ve been following along you know this has been a huge project. We’ve basically gutted the house, leaving only the frame. To avoid adding a second story we bumped out in spots to create more space. We have a general contractor and did not higher a designer so there have been endless decisions to make. To start we removed walls in the great room area and our bedroom to open things up. Living so far North means dark winters so we put in 4 skylights. Two in the kitchen area and two in the family room. To bring in more light we added windows in the kitchen area. We will have a beautiful view of our forested property! Prior to drywall, the interior is just a wood skeleton. Adding drywall was the first step in seeing our fixer upper turn into our home. By the time this post goes live we will be farther along in this construction process so make sure to follow along in my Instagram stories. There are changes daily and this is the most exciting time because we are adding finishes! Following is a little bit about the installation of drywall along with a house update.
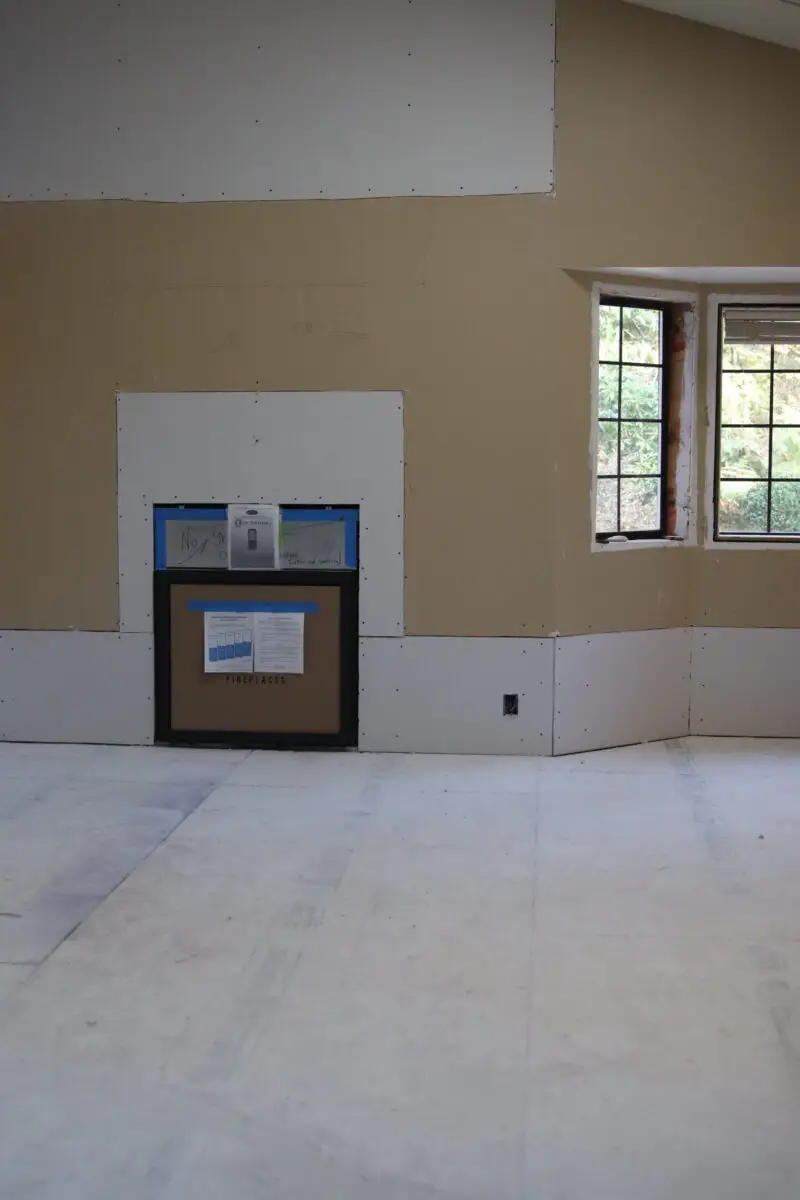

Prior to drywall the house looks like a skeleton. Once the dry wall is complete, it’s much easier to visualize how your selected finishes will look.
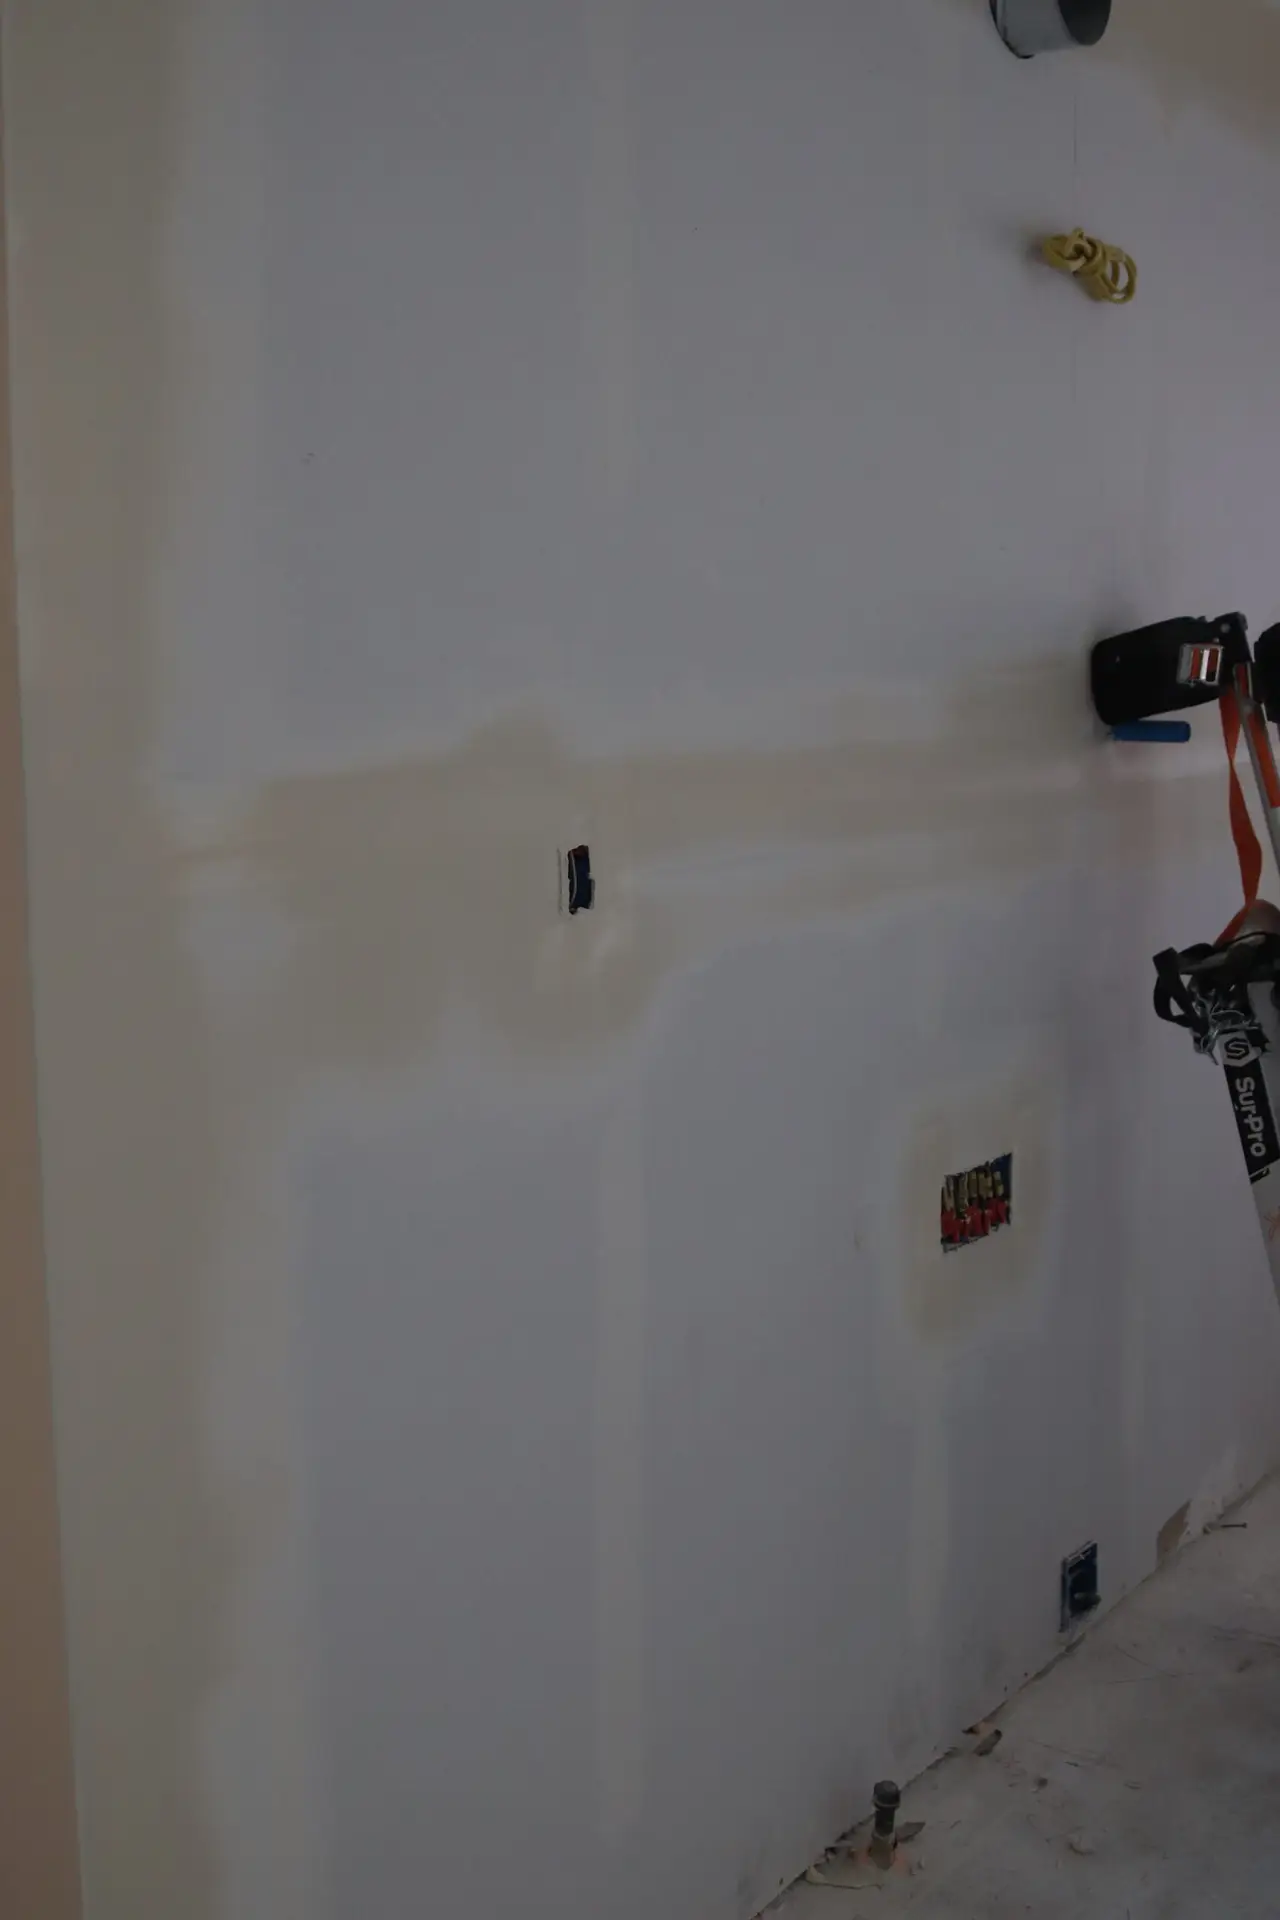
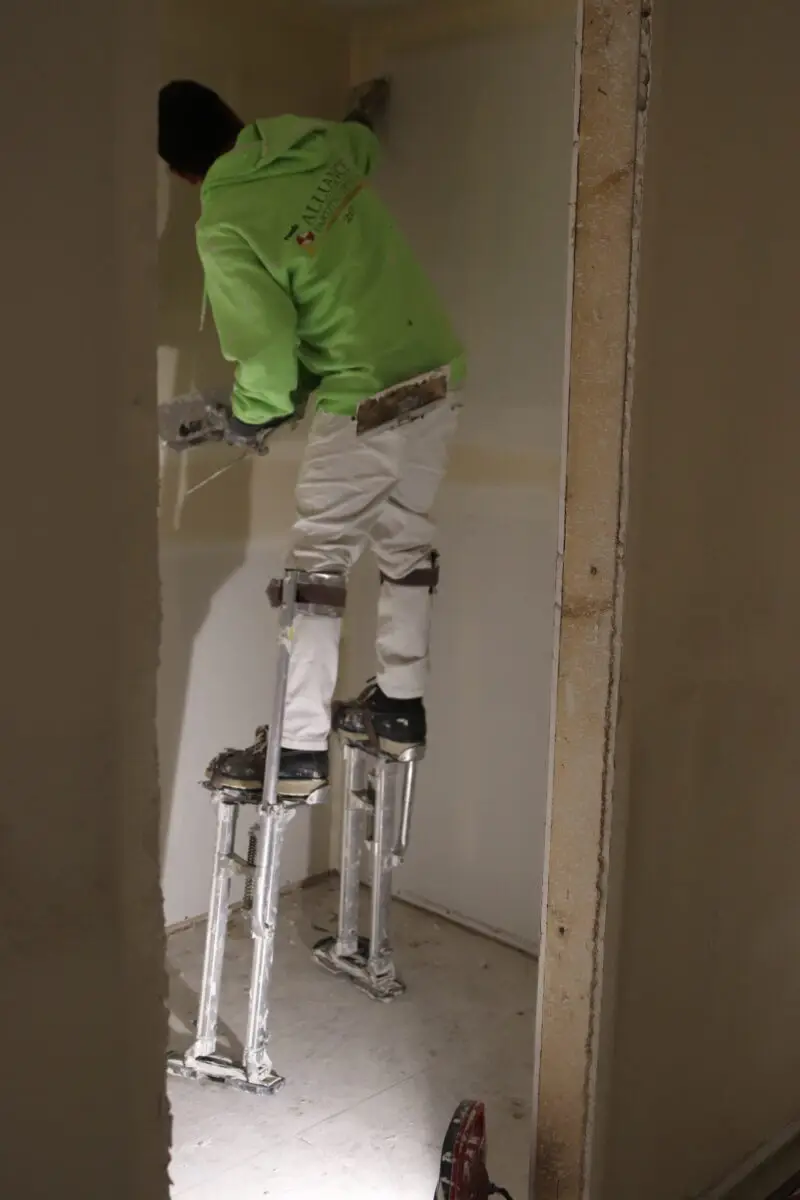
The wall surfaces in our new construction are made from drywall, a thin panel of material sandwiched between paper faces. The challenge when installing lies in the finishing – covering seams between panels with tape and then mudding.
This final process is called taping and mudding. Skilled professionals can do this easily by sanding the dried compound (mud) to smooth the edges.
When the process is complete the wall surface will be smooth and ready for paint or a textured. Some folks want a textured finish. We are going with a smooth finish.
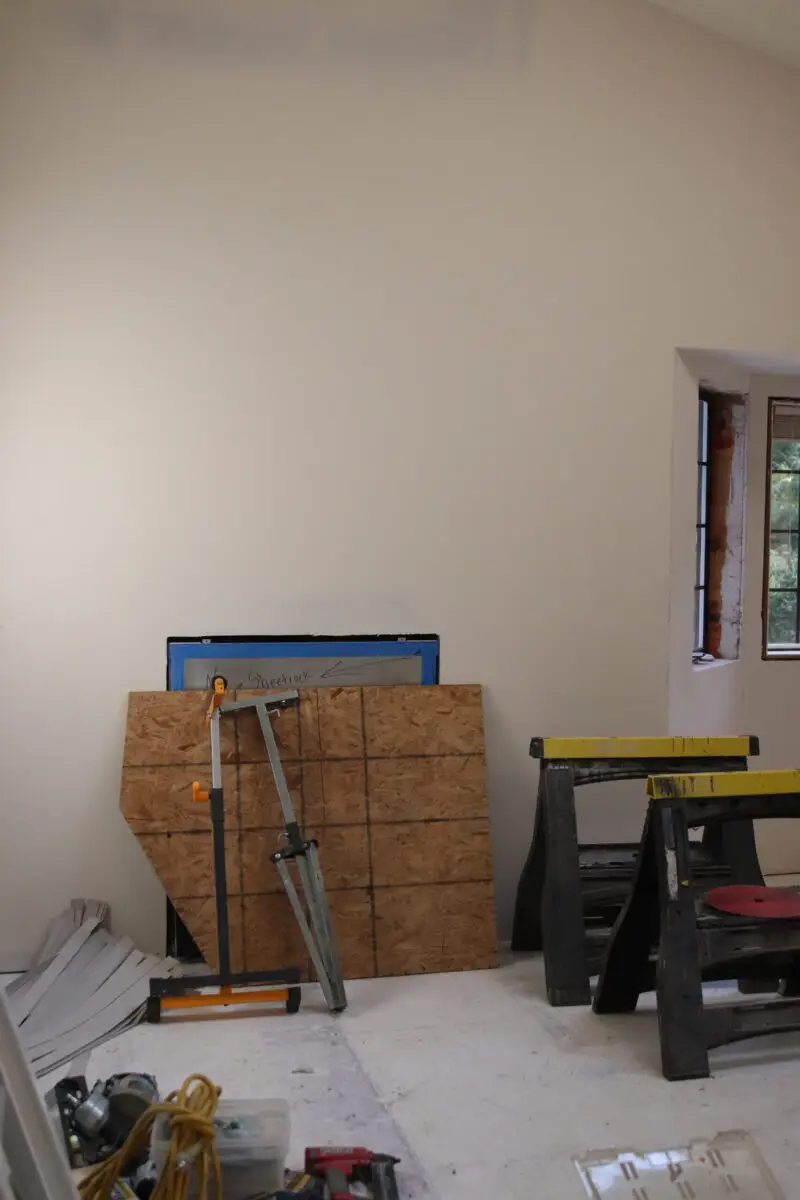
For those interested in taking this DIY project on, think of drywalling as opportunity to connect with your inner artist! The goals are to hide the tape and then make the wall appear smooth. Be patient and pay attention to detail. There are lots of instructional blog posts and videos available if you want more details.
Having the drywall complete is a milestone! Now we start on windows, floors, and other pretty finishes.

There’s a light at the end of the tunnel! We are getting to the good part so stay tuned!