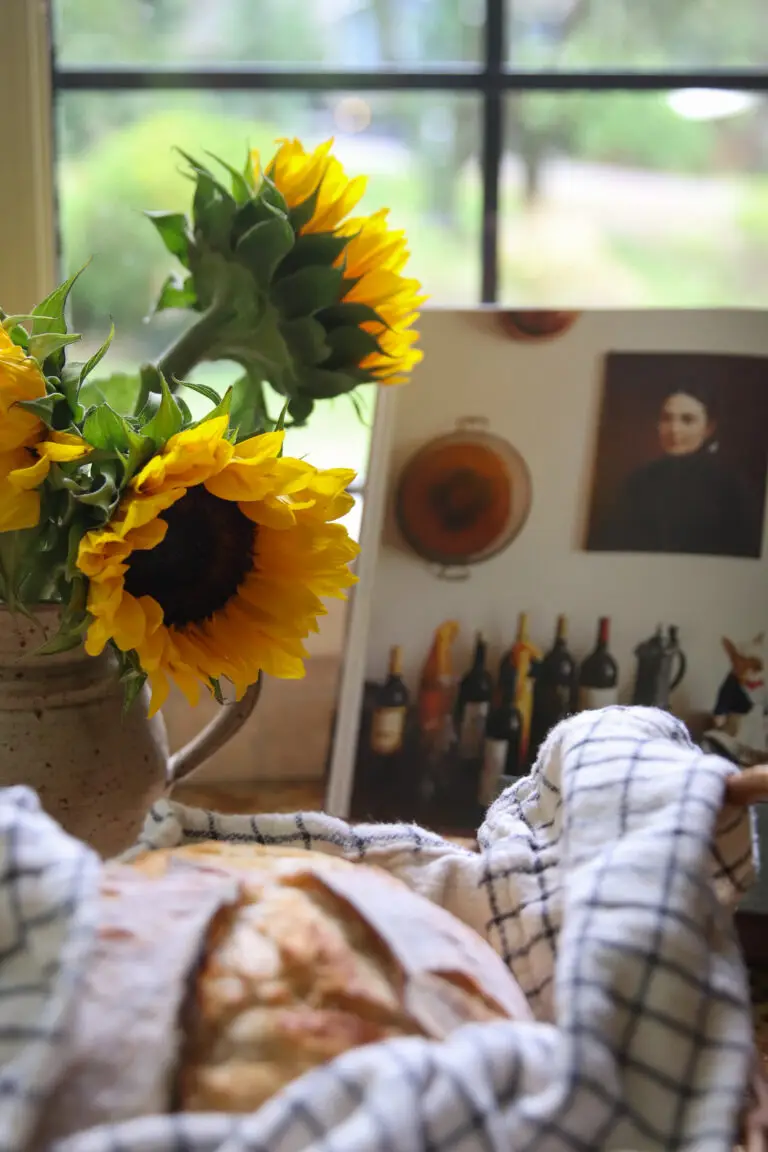
This loaf is so delicious and makes an excellent gift. Make sure to place the chocolate chips away from the edges of your dough when you are adding prior to the last rise. This will help keep the chocolate from popping out and burning during the cooking process.

Bread making tips
- Buy a scale. I will refer you to this blog post if you want to make bread using cups rather than grams. My recipe is in grams. Grams are more precise and because I am not a professional baker, I need all the help I can get. Unlike a cooking a roast, baking bread is precise and science is involved. For that reason I wanted to remove the variable of inaccurate measurements. The scales are inexpensive and fit in a small space. I store mine in my cabinet above the counter.
- You will also need a bowl for your bread to proof (rising). I use a clear glass bowl to prepare the dough and a banneton for the final proofing. This isn’t necessary but, again I felt that having all the right equipment going into the learning process would help with the learning curve. If you are using a banneton, it’s recommended that rice flour be used to on the linen liner. All-Purpose Flour retains too much moisture and cause the bread to stick to the basket.
- Lear how to stretch and pull the dough. I recommend watching a few YouTube videos so you get the process down. There are lifts, stretches, and pulls that need to be done and your technique is important. There are lots of videos, just Google how to stretch and pull sourdough.
- Go into this process with the understanding that you will probably make a dozen loaves that aren’t perfect. It takes time to understand the look and feel of the dough and the process. I’m still learning!
- Begin with a healthy starter. You will need to make your own or purchase starter on line. Follow the instructions and be patient. It will take a couple weeks to get your starter ready to bake with. Once the starter doubles in size and passes the float test, it’s ready to bake with!
- *Try different recipes. They are all basically the same with just a small adjustment in water or flour. Keep in mind that the recipes you follow will be using a specific flour and starter. Yours won’t be exactly the same so that might result in a different bread outcome.
- Sourdough is a very wet and sticky dough and will stick to the bowl and your hands. Try to avoid adding extra flour. Instead, dampen your fingertips or hands prior to working with your dough. A bench scraper is also helpful.
- Remember that recipes for bread making a mostly a guide. They are all very similar. The beautiful loaves come after lots of practice. If your dough is not round, bouncy and sort of springy then it’s likely that it needs more rising time. When the dough is ready to be baked it should be round and bouncy.
- Scoring bread is very important as it helps the inside of the bread release moisture. You will need to use a sharp razor blade or bread lame for this process. Here’s a quick video showing you how to score with a knife, scissors, and blade.
- The amount of time it takes for your dough to double can be determined by many factors: temperature in your home, how mature your starter is and the hydration status of your dough.
For additional bread making tips, subscribe to Lemon Grove Lane on Instagram.
Chocolate Sourdough Bread
Ingredients
- 130 g mature sourdough starter
- 345 g filtered water
- 500 g unbleached all-purpose flour
- 12 g kosher salt
- 1/4 to 1/3 cup semi-sweet chocolate chips
Instructions
Feed a sourdough starter 6-12 hours before starting the bread. To feed my starter I add 30 g starter to a clean jar and then I add water and unbleached flour. Stir until a milky color. Cover lightly and allow to double in size. This can take 4 - 12 hours depending on your house temperature.
Get out your scale and set to zero. You will need to set to zero between each step. Add sourdough starter and water reserving about 10 g to combine with salt later.
Mix with your hands or a fork until milky, cover and allow to sit for 30 minutes.
Add salt to 10 g water. Stir and add to dough. Mix with your hands for about 2 minutes.
Cover and allow to sit for 30 minutes.
Remove cover and do a lift and pull. I usually do this 4 times, making my way around each side of the dough. The dough might still be a little bit sticky.
Repeat this process three more times over the course of two or three hours.
Using saran wrap or a shower cap, cover the bread and refrigerate overnight or up to 12 hours.
Remove from refrigerator and allow to sit for 20 minutes.
Put bread on a lightly flowered surface and pull out corners creating a rectangle.
Add 3/4 of the chocolate chips to the center of the dough and spread out leaving a little space at the ends.
Fold in one side and add remaining chocolate. Roll up into a ball.
Cup with your hands, making a C. Push the dough away and pull it back to create friction in your dough. Do this several times. Your dough should feel firm and bouncy.
Place top down, seam up in a banneton basket. Cover with a linen and allow to almost double, about two or three hours.
Preheat your oven to 450 degrees F. Place the Dutch Oven inside for 30 minutes. While that's heating, turn your dough out onto parchment paper. Score and then carefully place the parchment paper and bread into your HOT Dutch Oven.
Bake covered for 25 minutes. Remove cover and bake for an additional 10 minutes.
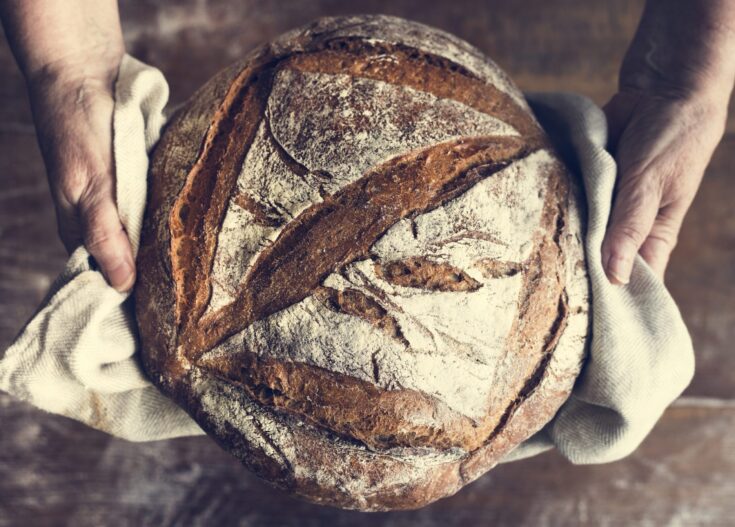
Remove the bread from the Dutch Oven immediately and place on a cooling rack. Allow to cool for an hour prior to slicing.
Wrap tightly to store.
Notes
This post contains affiliate links. That means if you were to purchase something I am recommending I would make a small percentage on your purchase. This money helps keep my blog going :)