
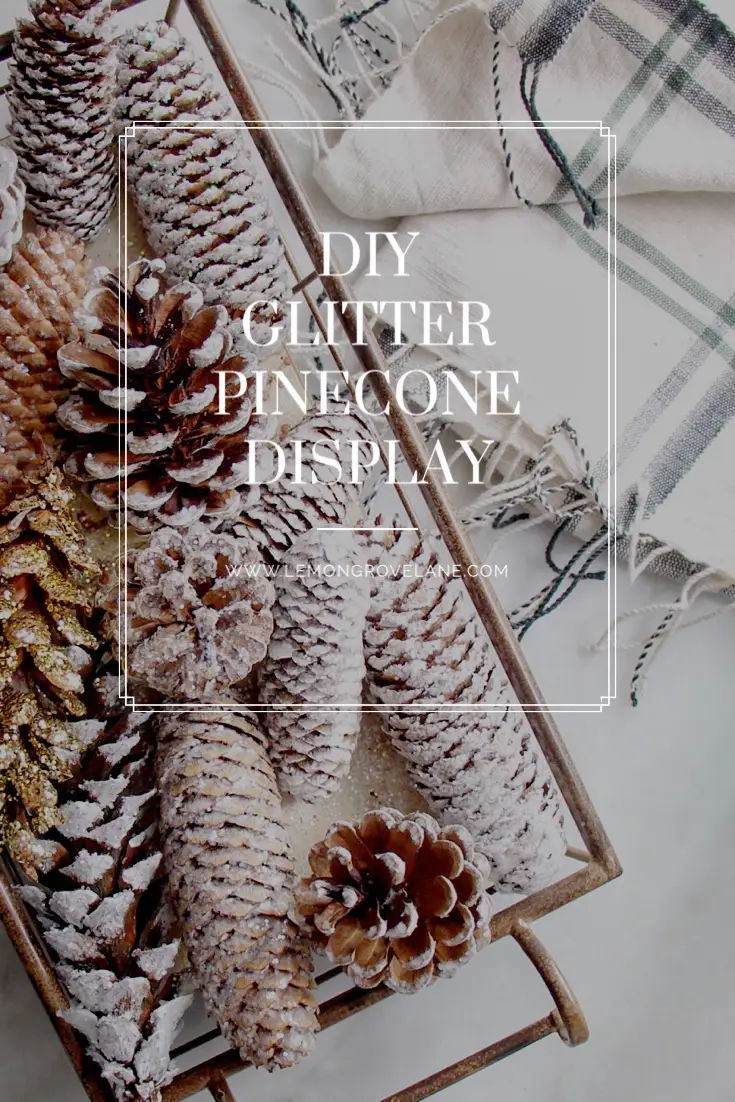
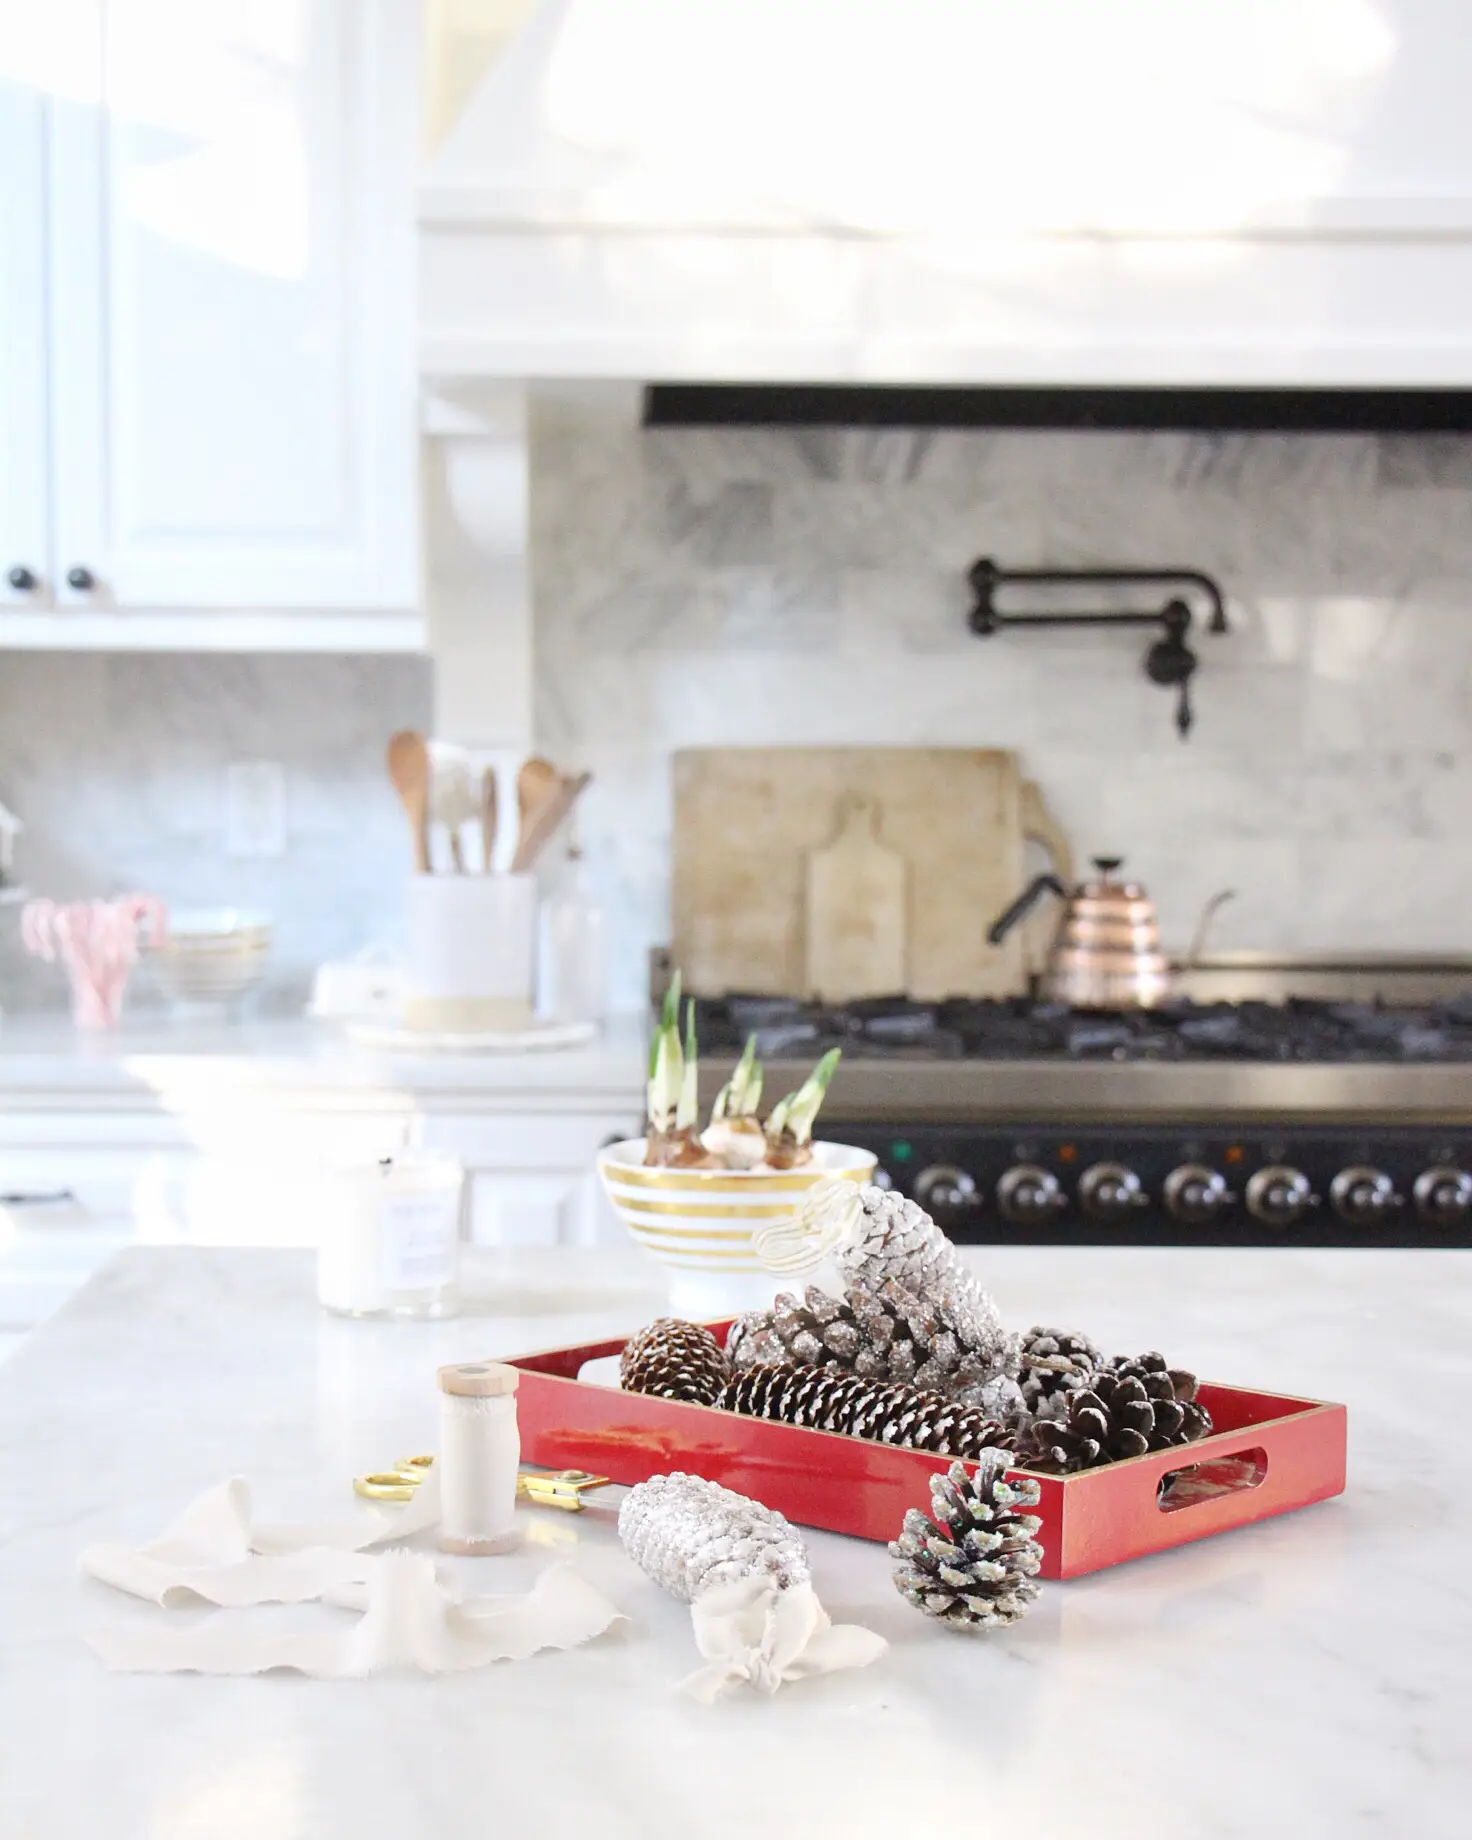
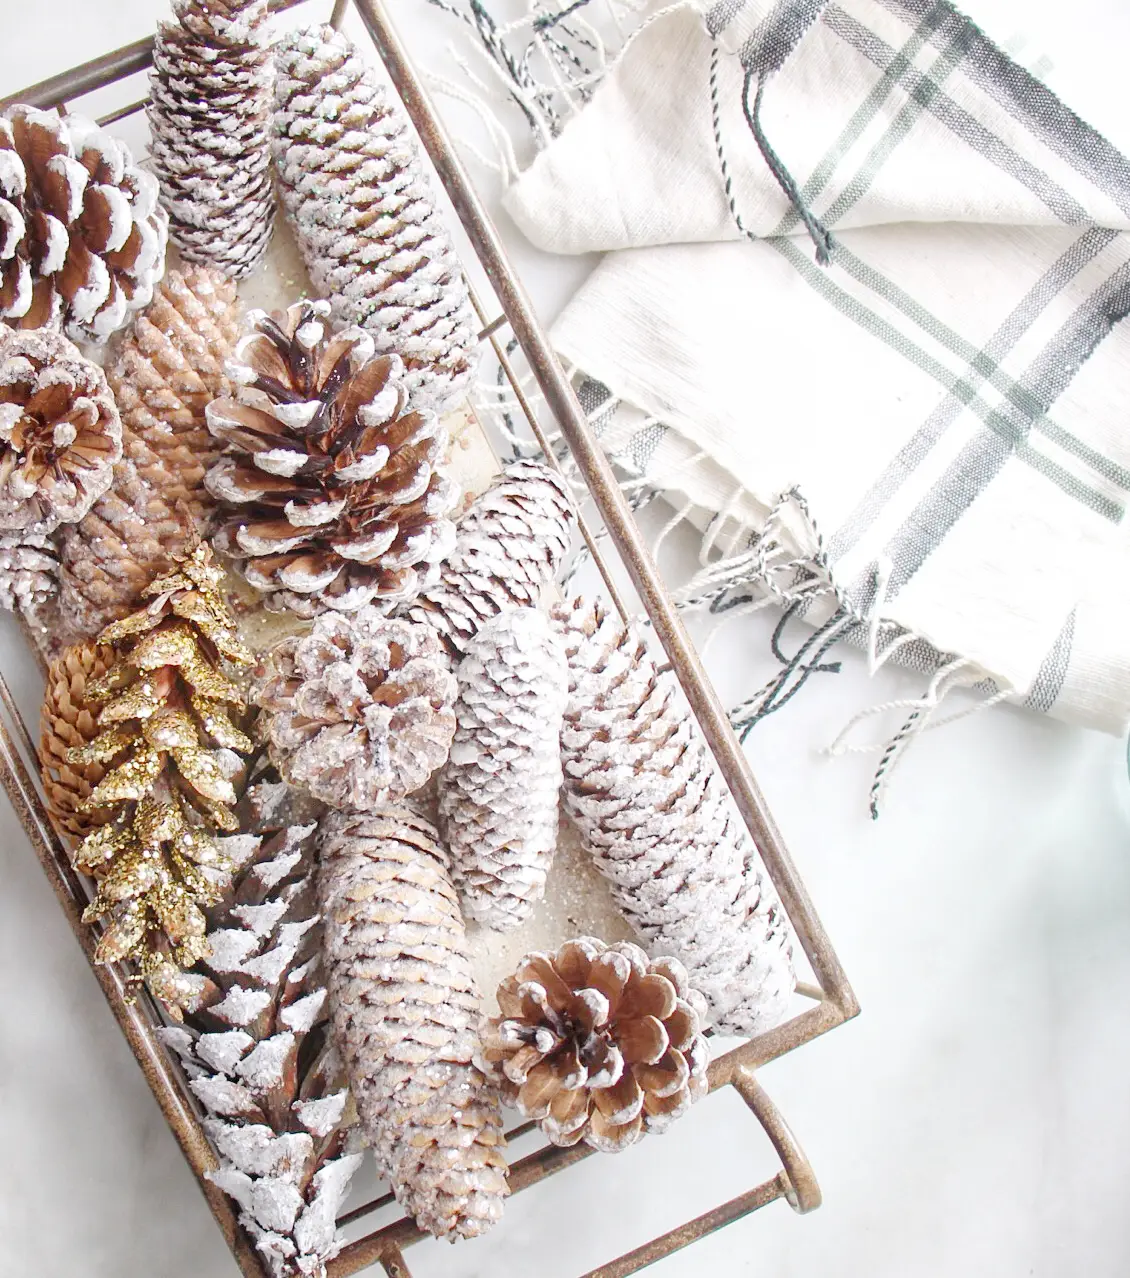
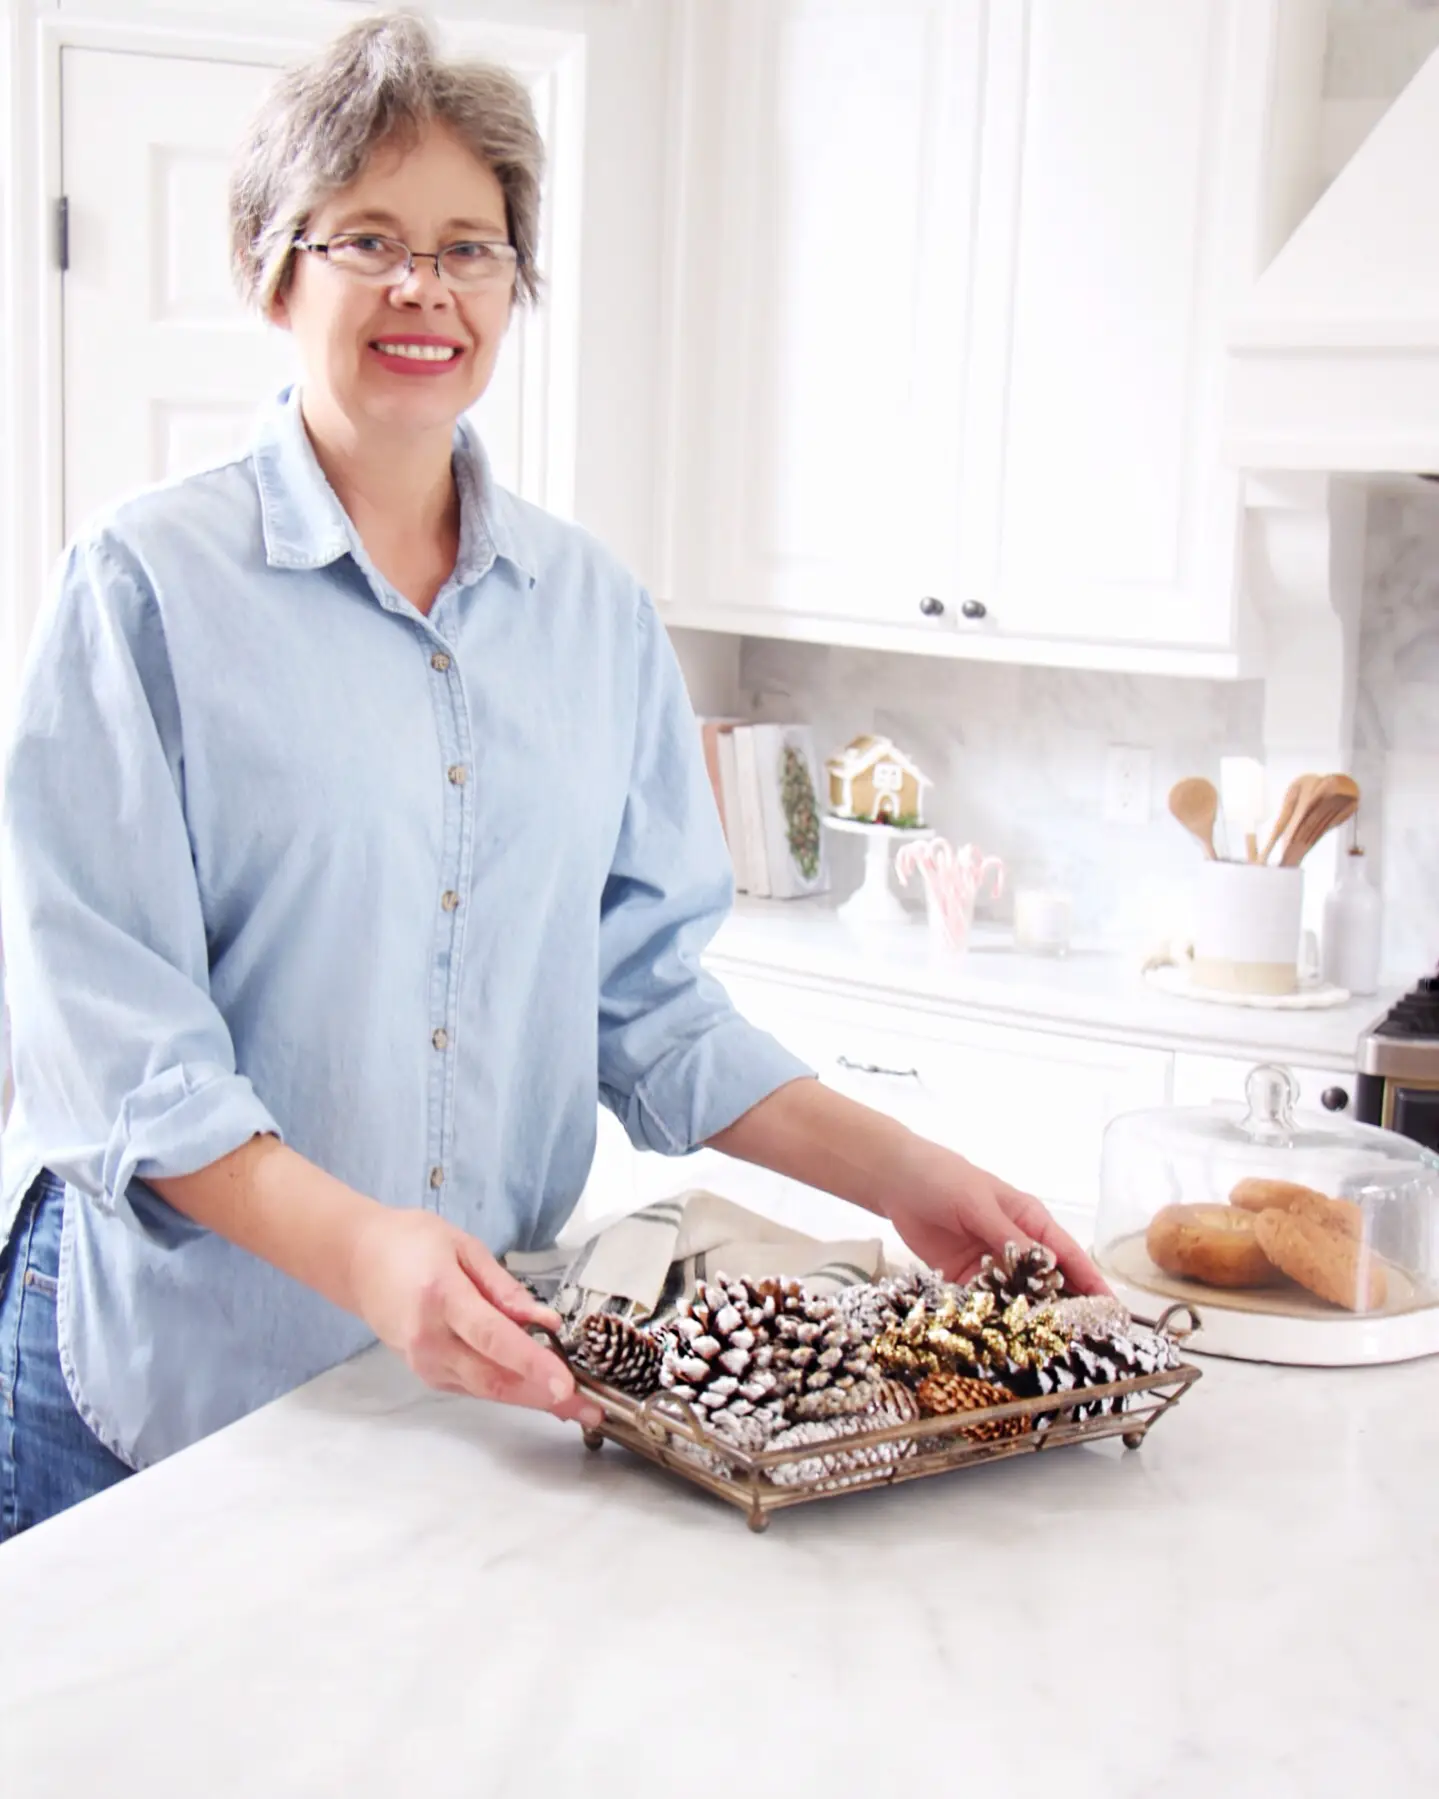
Today we are making glitter pine cones! This was so much fun and it’s the perfect activity to do with your family this weekend. My friend Julie brought a box over several days ago and I thought they were so pretty that I wanted to share this DIY project with all my readers. The overall ‘mess’ is minimal, yay for that! Moms, if you are looking for a fun project to do with the kids on a snow day, this is it! All of your supplies can be purchased at your local craft store.
Pine cones and holly are plentiful here in WA state making it easy to forage what need to fill a vase or collect what you need for a DIY project. The glitter pine cone is the perfect example of how you can turn a something so simple as a pine cone into a sparkly ornament with just a few materials. Try making these with the kids or as a family project over the long Thanksgiving weekend! You can try different shades of glitter to personalize or fit the color theme of your tree.
Step-by Step Instructions:
Supplies:
Pinecones (assorted shapes and sizes): forage your own or purchase from your local craft store.
Mod Podge
Glitter (assorted colors)
Bowl
Ornament Hooks or Ribbon
Instructions:
- If you have foraged your own pine cones, you’ll need to clean them with a damp cloth and bake them at 200 degrees F. This will drive out any little bugs (they are there even if you don’t see them;) and open the tips of the pine cones. The longer the pine cone heated the more it will open up so remove them at different stages for different looks
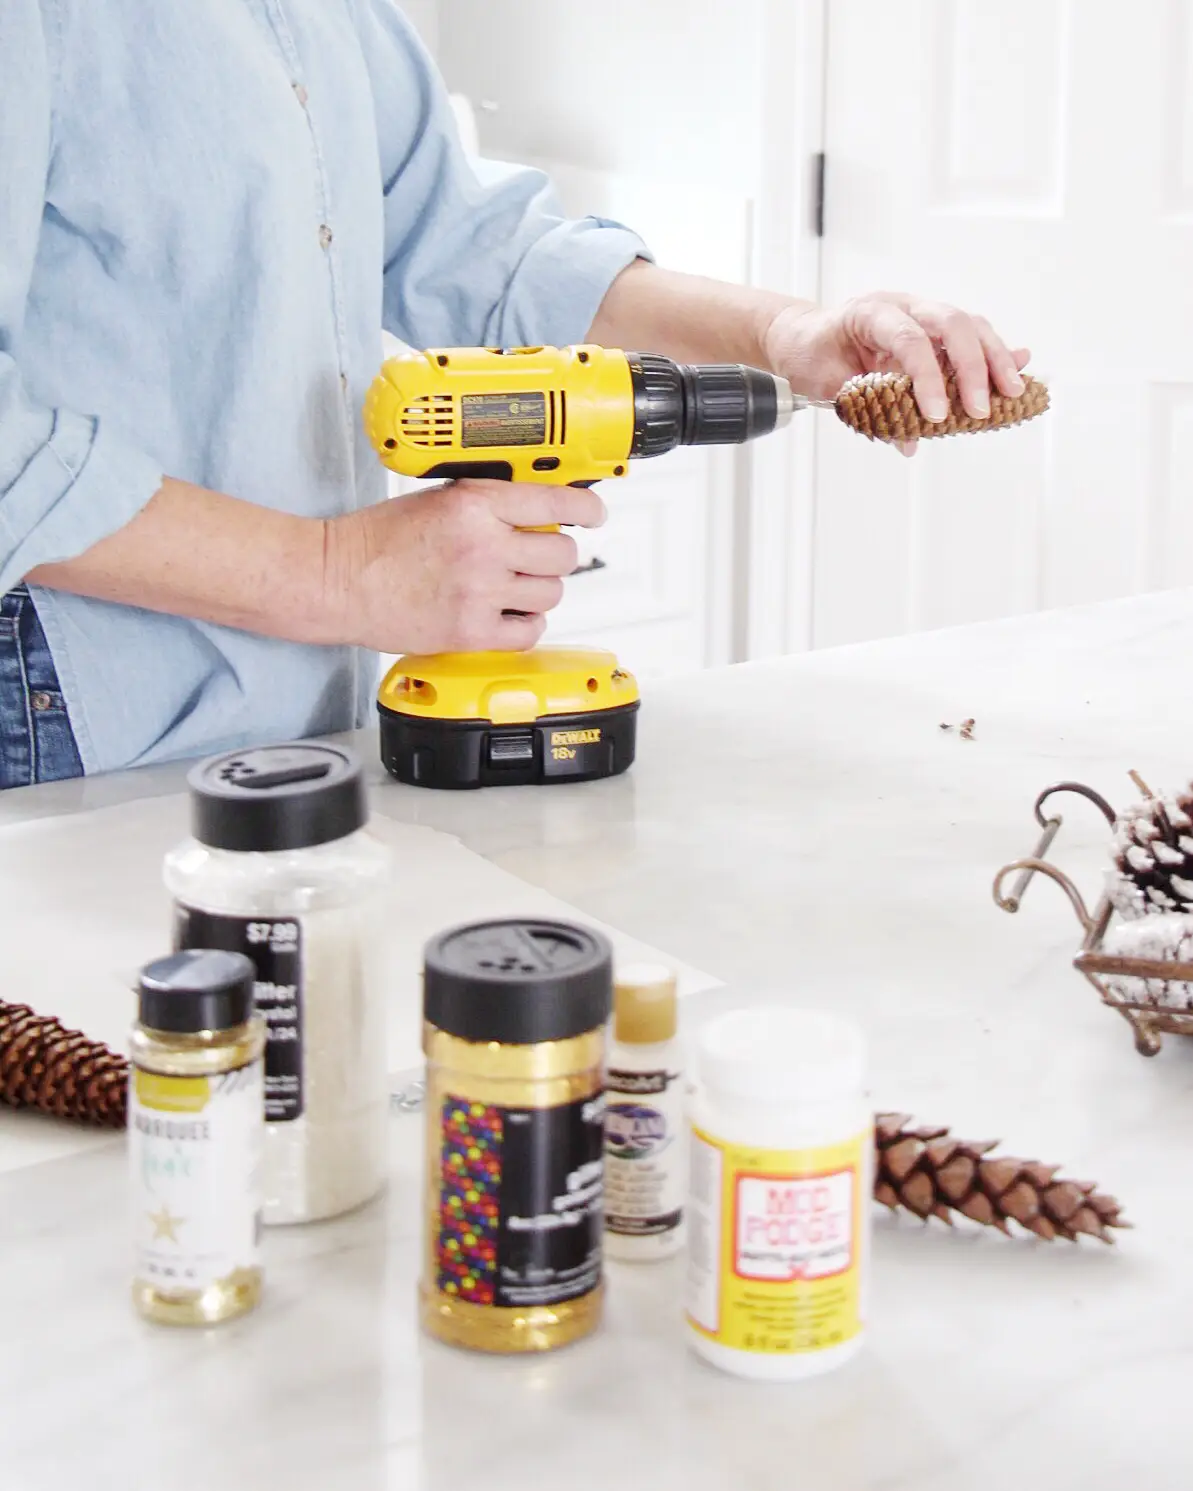
- Drill holes in each pine cone and add a hook for your ribbon.
Drill a hole and add a hook
3. The drill bit was 1/16th and the hooks were 13/16 #214. These can be found at your local craft or hardware store.
Apply Mod Podge
4. Apply Mod Podge. You can find this product at most craft stores or purchase on Amazon. Using a small foam brush, use a light touch and use sweeping motions to apply the glue to your pine cone. Work until each tip is covered with enough glue to catch and hold glitter in place.
*Julie does not recommend school glue for this project.
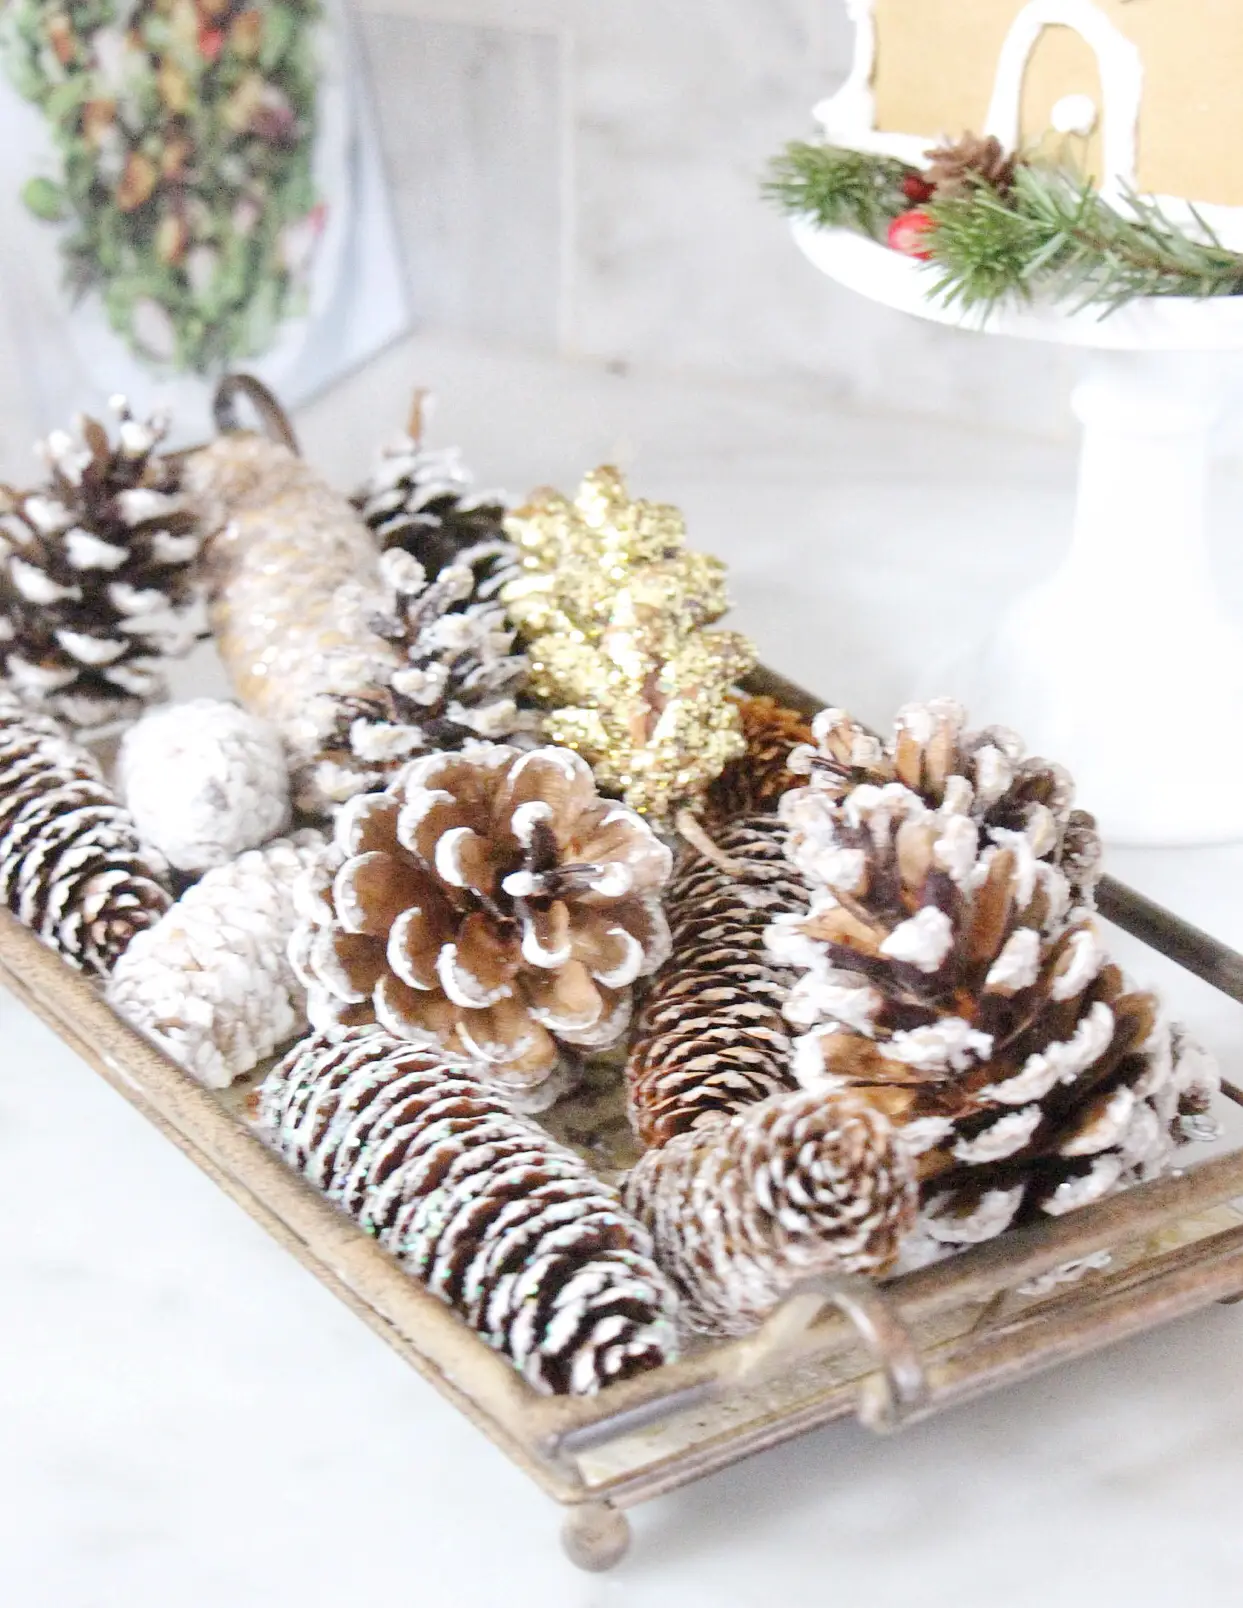
Glitter
5. Place the glued pine cone in a bowl. Sprinkle glitter over the glued portions of the pine cone tilting it directions until all the glue is covered. Turn the pine cone upside-down over the bowl and shake off excess glitter. Place the pine cone on a tray lined with parchment paper and allow to dry overnight. Repeat the process for all of your pine cones.
If you’d like to see the project live, go to my Instagram Highlights and click on DIY pine cone to see Julie live!


3 Responses
Thank you Leslie and your friend Julie for the tutorial. We have a lot of pine cones in the south too although not as large as yours. I always use them during the holidays. I love this idea, so pretty with the flocked look. Bookmarking this informative and fun post. And, your kitchen always looks lovely……….Happy Thanksgiving!
Wonderful Emily! Please send pictures if you decide to tackle this project! xoxo