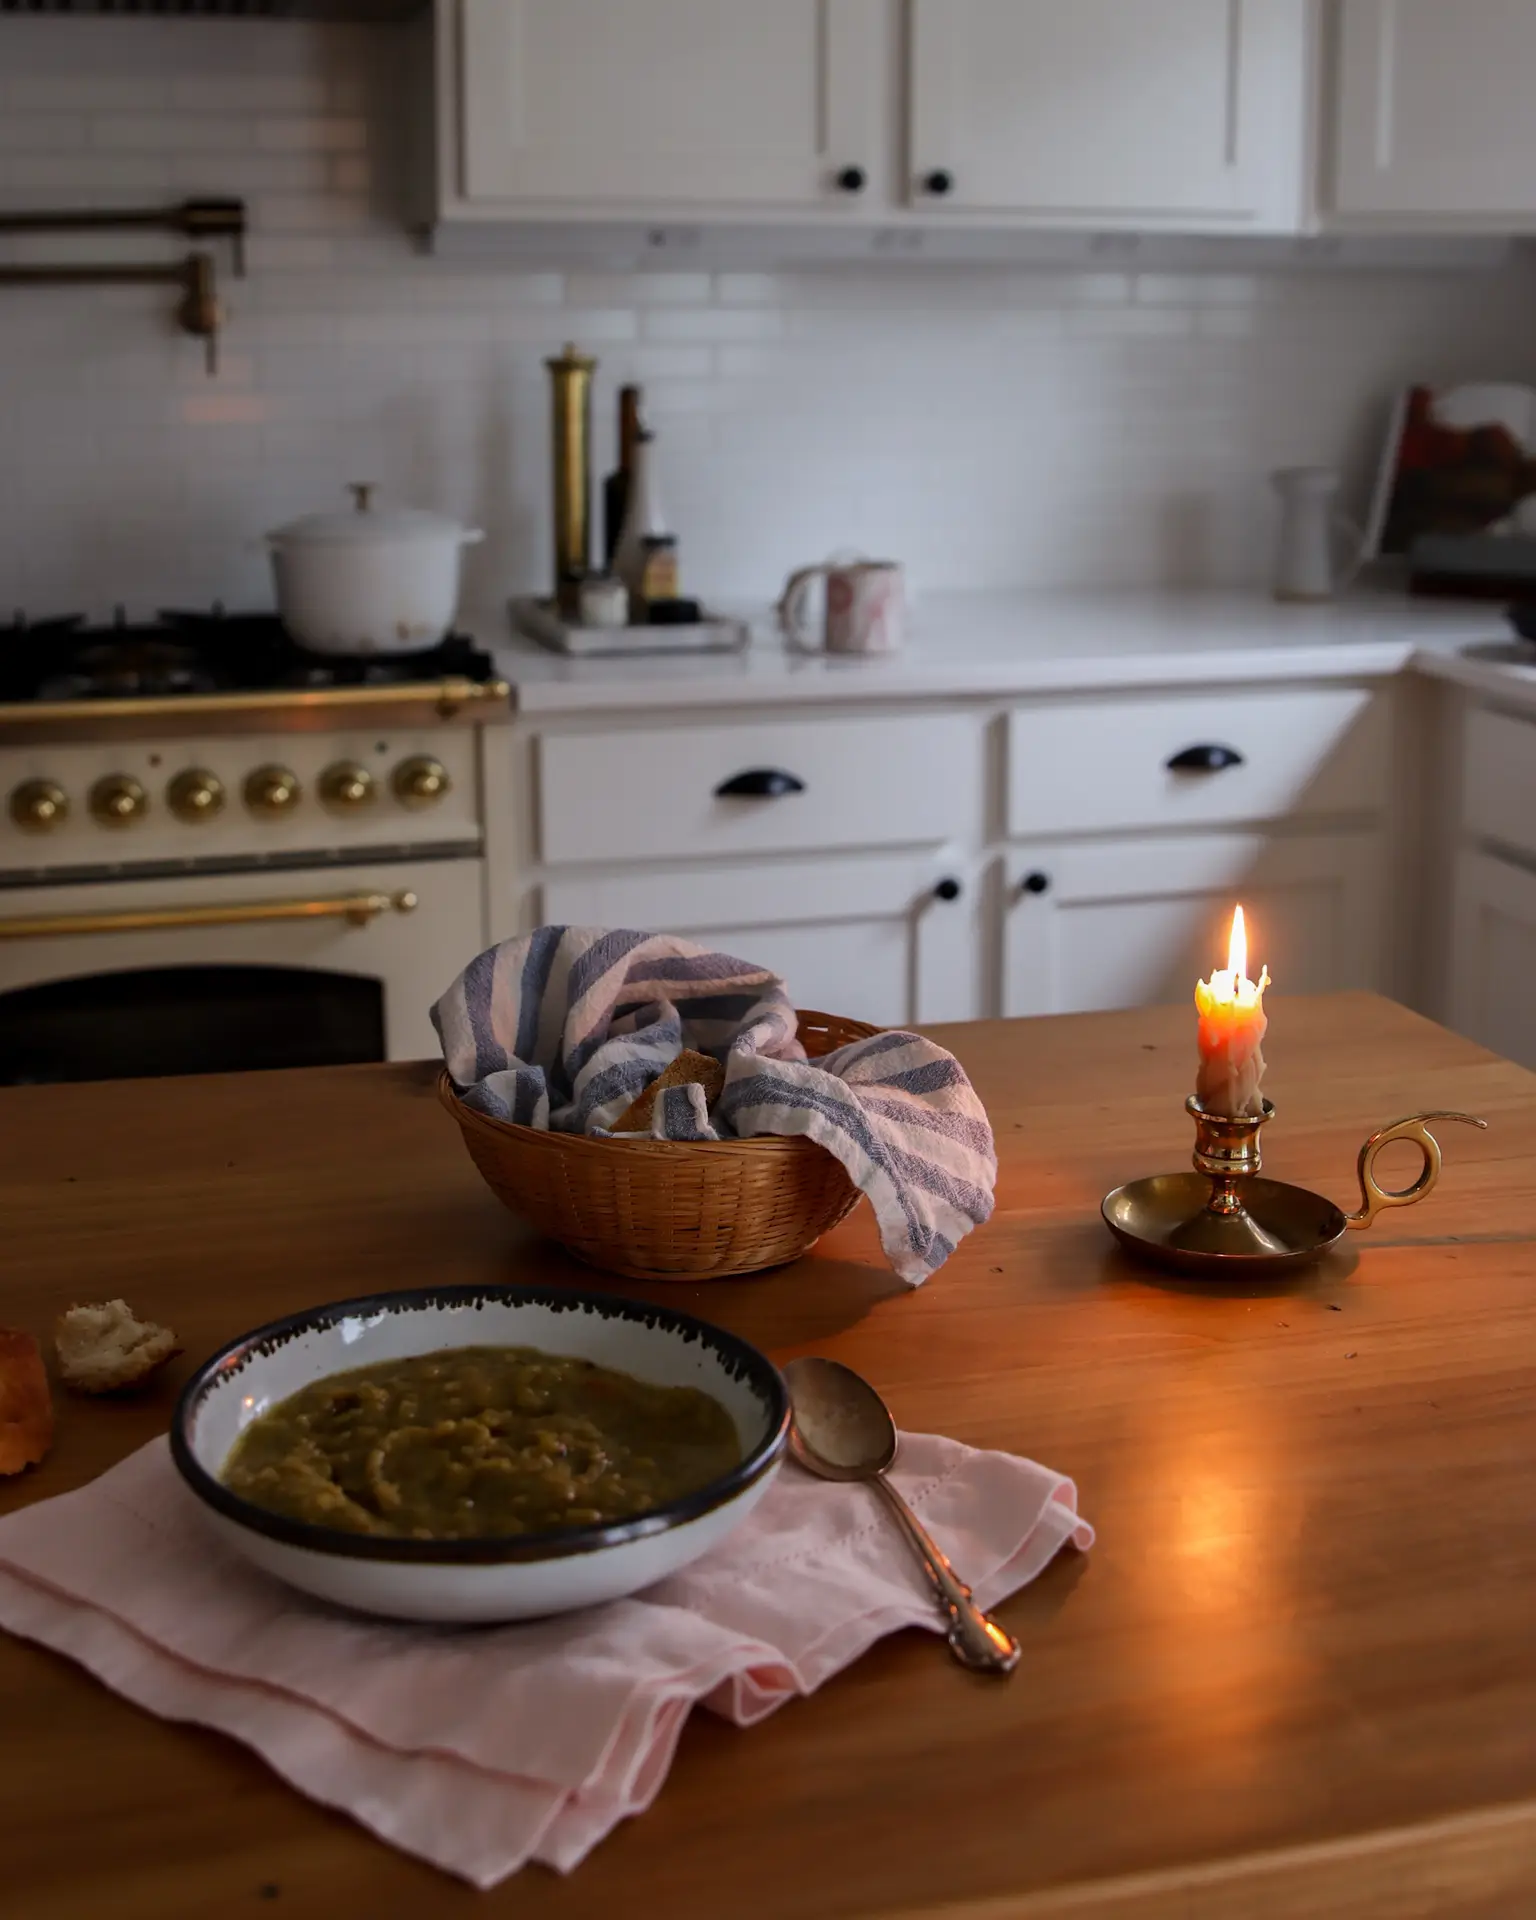
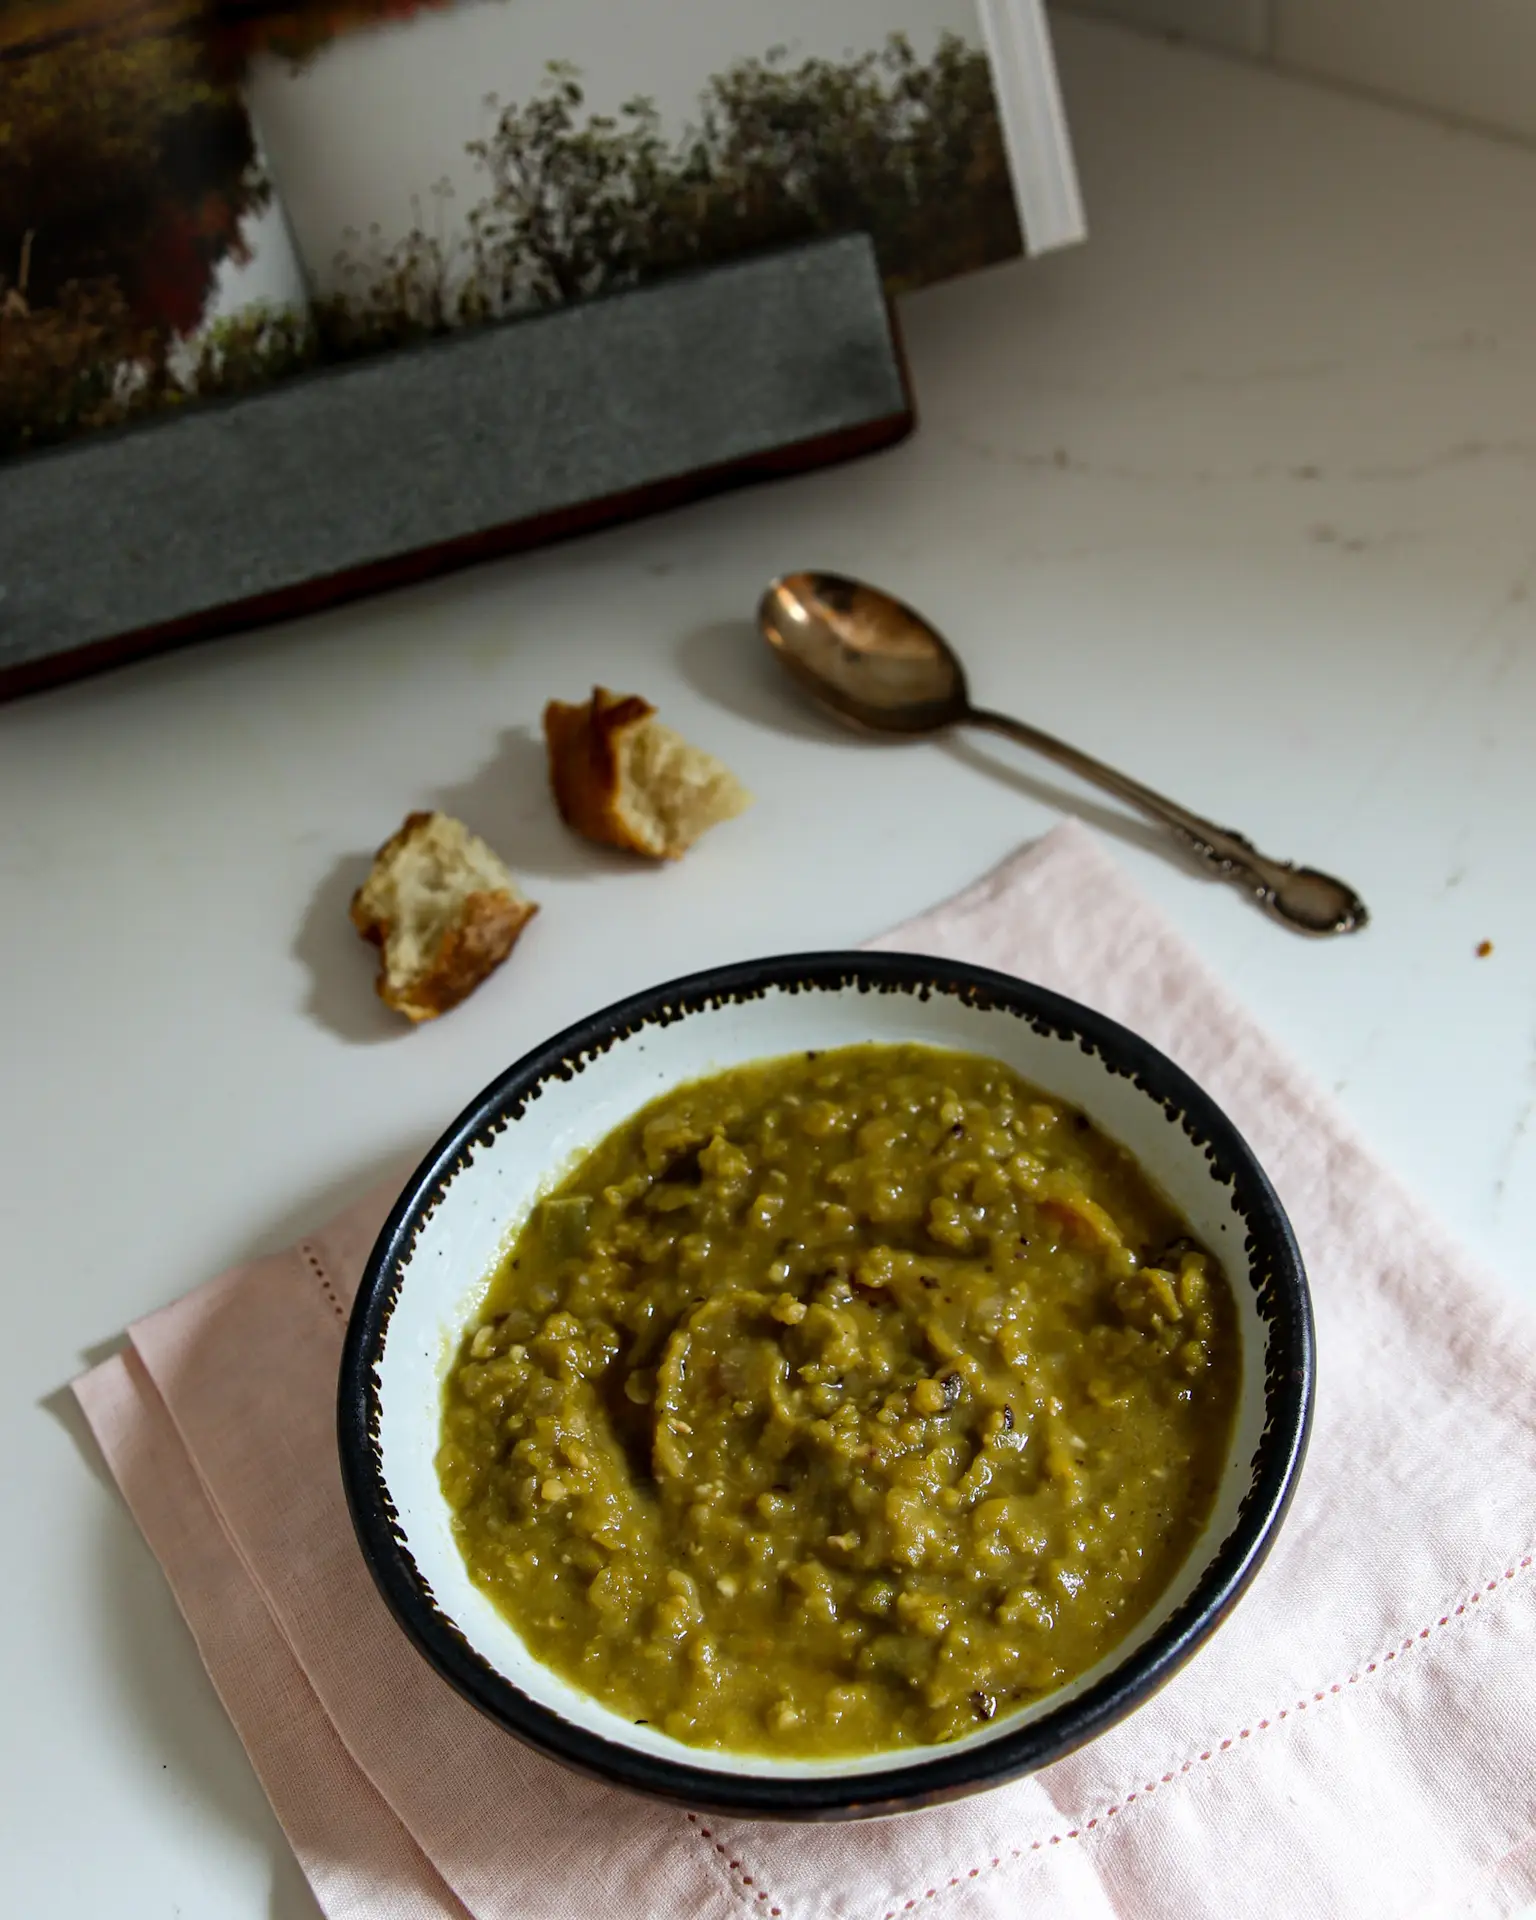
Serve traditional split pea soup as a side dish or make it in to a full meal with a side salad and crusty sourdough bread with little bit of creamy butter.
My husband has long been a fan of peas and pea soup. His mom used to serve peas as a side dish and make split pea soup all the time. Truth be known though I didn’t care for peas as a side dish and seldom had split pea soup. I remember having a bowl of her soup when we were dating and it was delicious. So what was her secret to delicious split pea soup? The hock! A meaty ham hock is key for delicious split pea soup.
You can make pea soup stove top or in your instant pot. It’s easy to prepare and full of flavor!
How to make traditional split pea soup, stove top
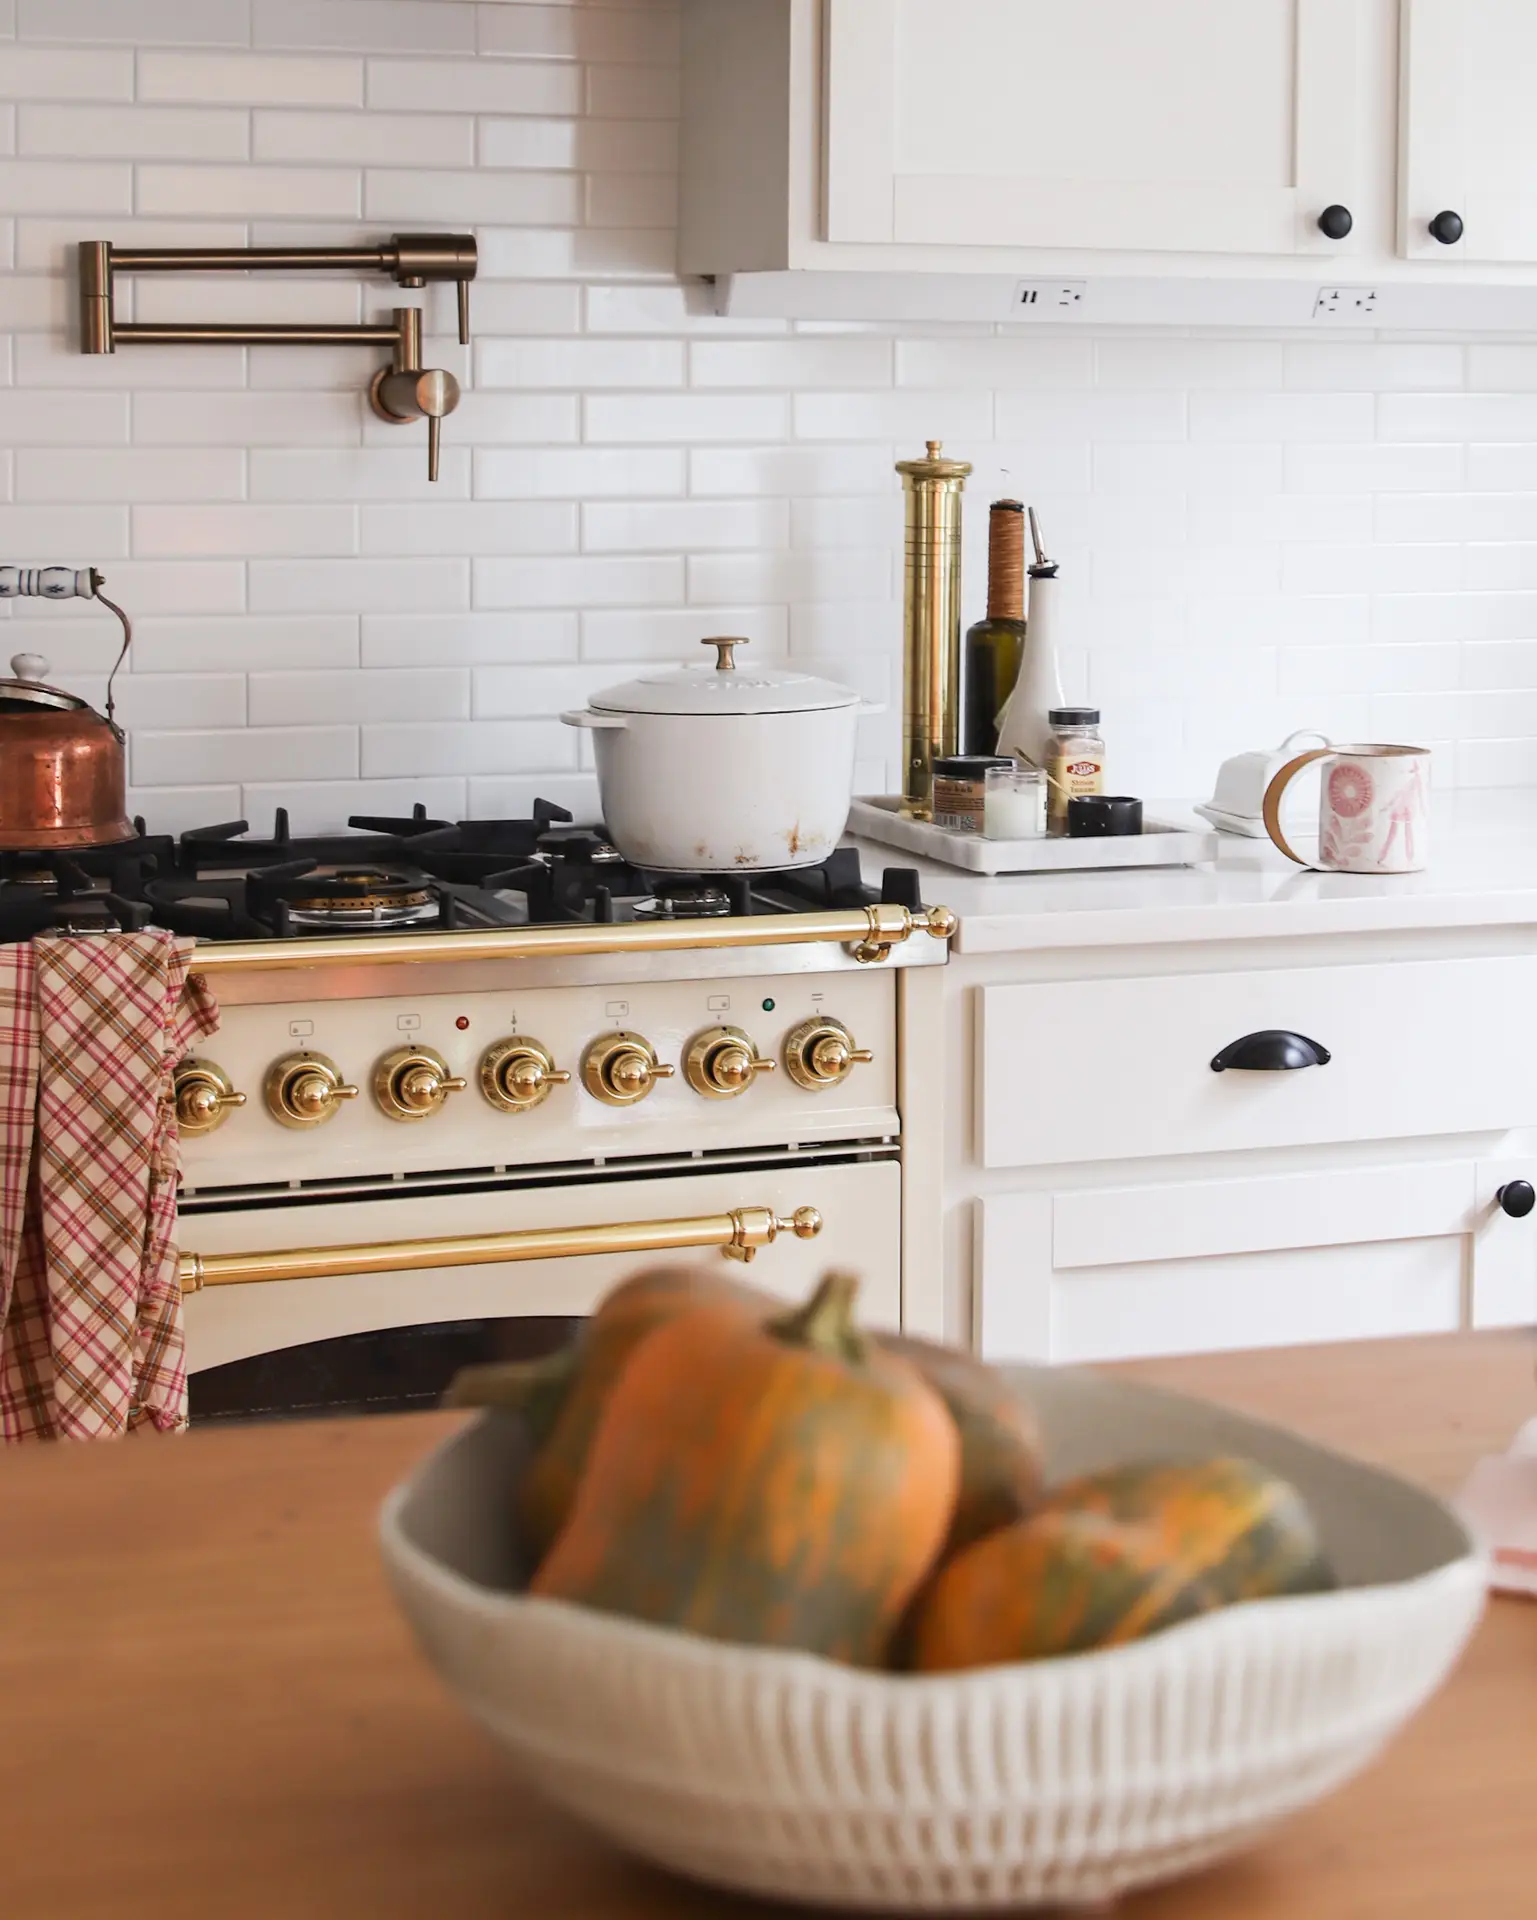
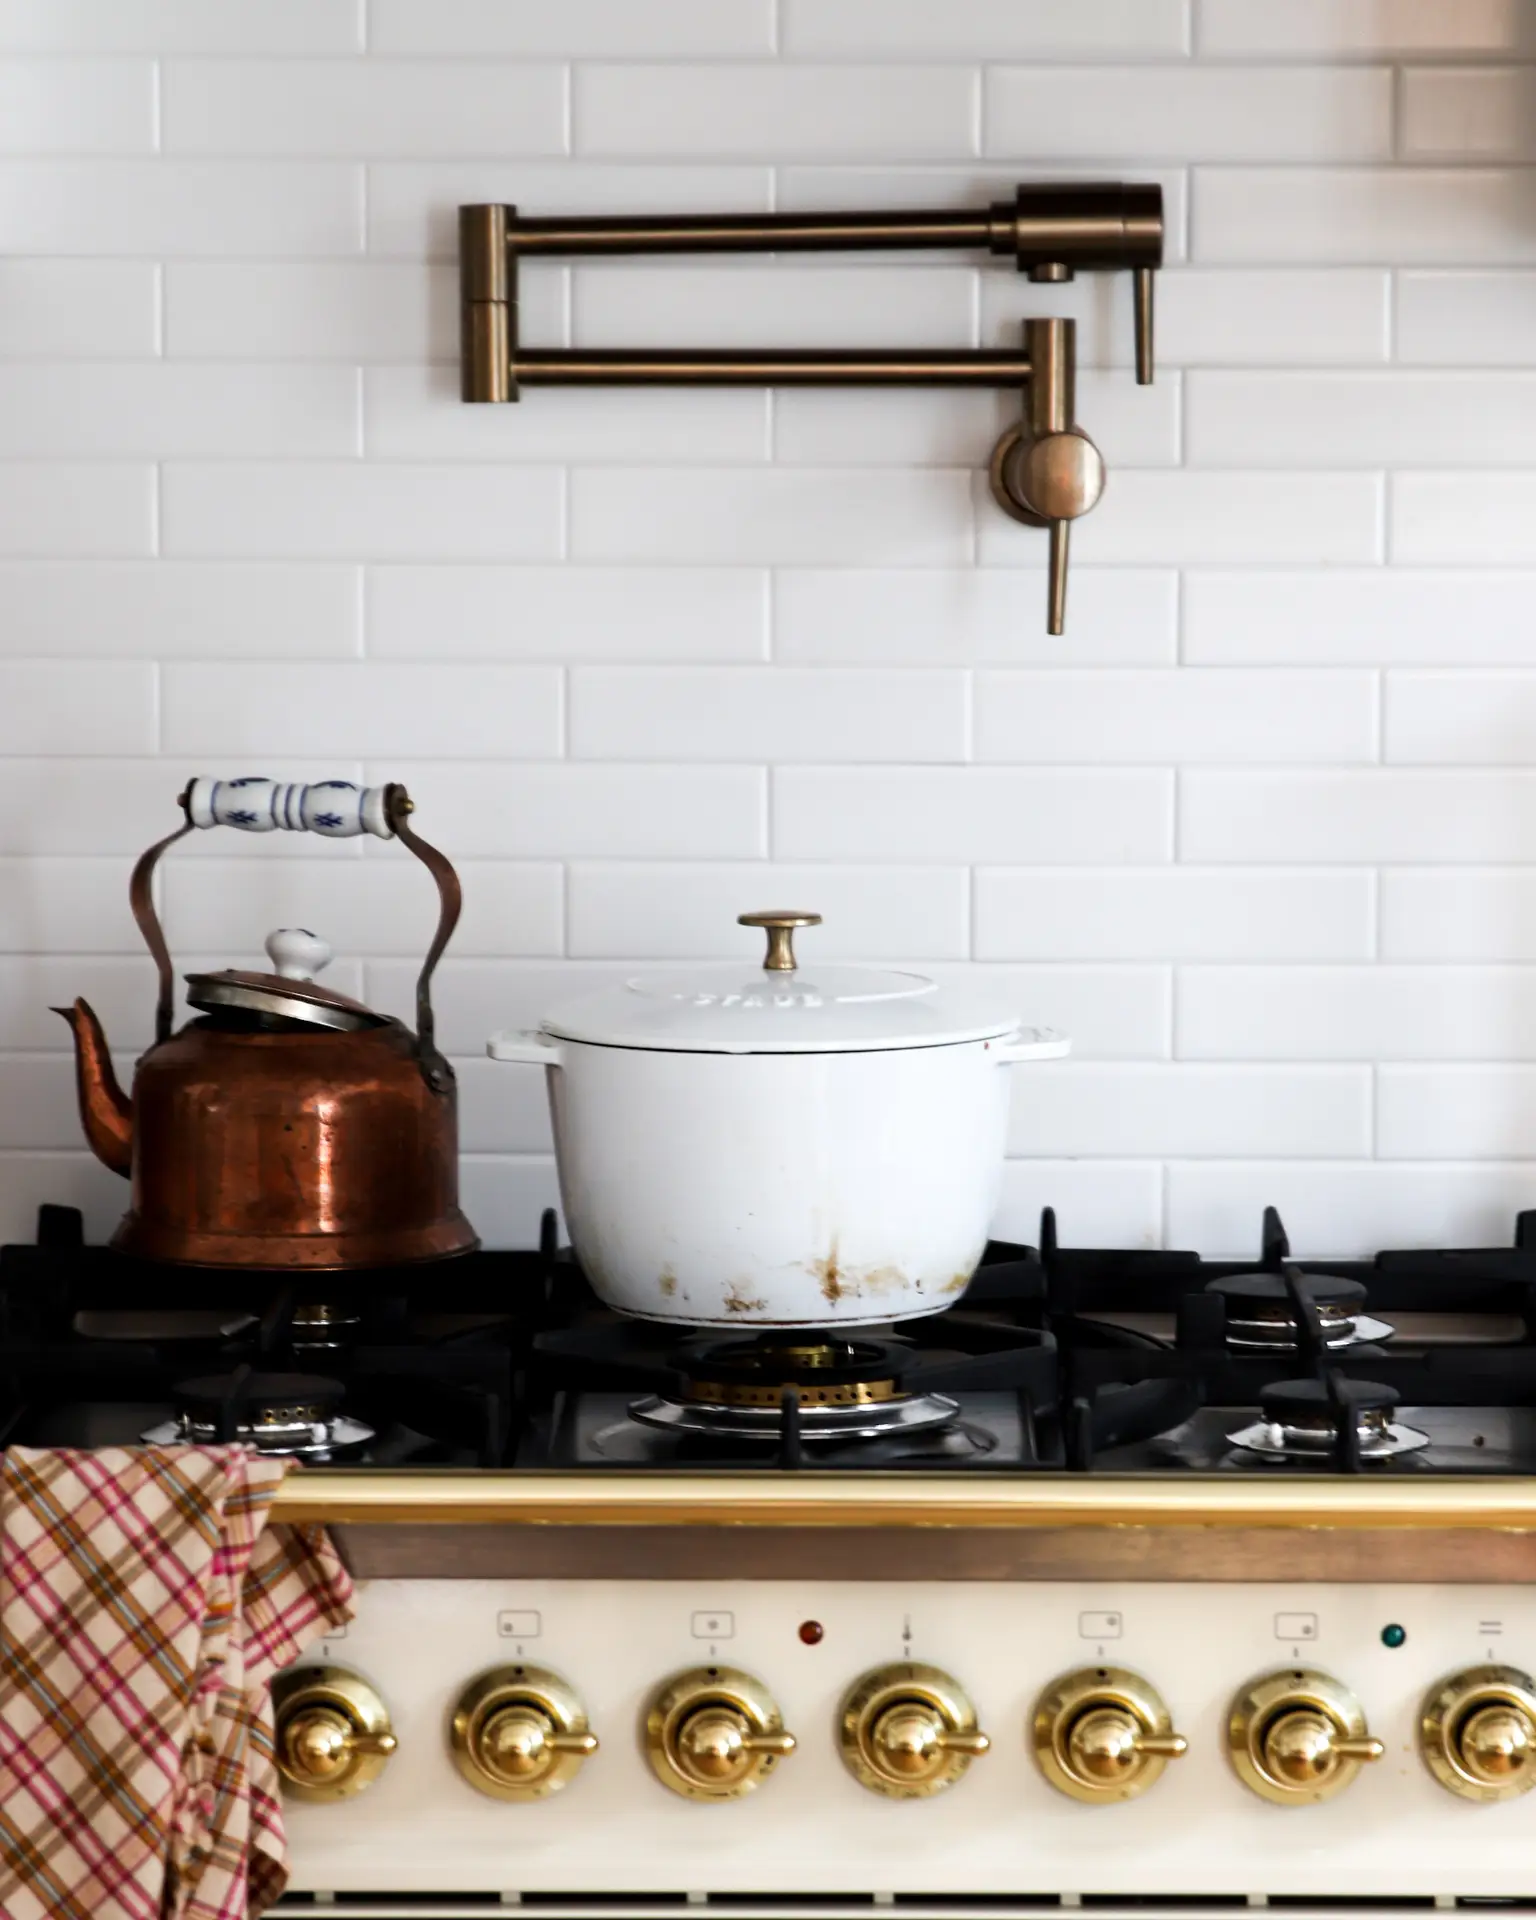
This is one of those recipes that exact measurements aren’t that important. It’s so simple you almost don’t even need a recipe. If you’re making split pea soup stovetop, use a heavy dutch oven or stockpot. You’ll need to simmer for a few hours and you don’t want the soup burning on the bottom.
- Boil 2 cups of split peas for 30 minutes, turn off the heat and allow to sit for an hour. You can also soak your peas overnight.
- Add a high burning oil (coconut or avocado) to your dutch oven and brown your ham hock.
- Add chopped onion and salt. Saute until translucent.
- Chop carrot and celery, add to pot along with garlic.
- After a few minutes add the split peas, bay leaf, and chicken broth. I use my bone broth for extra nutrition.
- Simmer for a couple hours.
- If your ham hock is really meaty, remove it from the pot, cut off the meat, and add it back into the pot.
- Once the peas have broken down, your soup is ready!
Looking for more cozy soup recipes? Check these blog posts for more inspiration!
Cozy tomato soup, Potato Soup, Lentil Soup, Minestrone, and more here!
How to make traditional split pea soup in your instant pot
The process is basically the same however there are slight variations in cooking time. You will start with the saute setting and then set to the manual function at high pressure for the duration. Details are below in the recipe
Important* don’t forget to rate the recipe! When you rate my recipe it will help more people to see it when they search on-line!
Traditional split pea soup | stove top and instant pot versions
Ingredients
- one pound or about 2 cups of dry split peas
- 2 onions, chopped
- 2 or more cloves garlic, chopped
- 3 celery ribs, chopped
- 4 carrots
- 1 bay leaf
- 1 ham bone or *ham hock (the best!)
- 4 or more cups of chicken broth (I use my bone broth)
- 2 cups water (add more or less for desired thickness)
- salt and freshly ground pepper
- oil for browning (I use avocado or coconut for browsing and olive oil for sauteing )
Directions
- Add a tablespoon of oil to your dutch oven or stock pot and add the ham hock. Brown and then remove.
- In the same pot add onions and a little olive oil. Salt the onions and saute until translucent.
- Add the garlic, carrots, celery, and pepper ( a few twists on the mill) and continue to cook for a few minutes.
- Add the peas, bay leaf, and bone broth. Cook until the peas break down. Simmer at your lowest setting for a couple hours. Add water as needed. When you reheat your pea soup the next day, add broth as needed for desired consistency.
- Serve with a side of turkey sausage if you want extra meat or just add a big green salad with my maple vinegarette dressing and crusty sour dough bread.
- For your instant pot: Use the saute setting to cook your onion, celery, and garlic. Allow the saute setting to heat up (about a minute) and then add your veggies. Add salt and pepper. Cook for about 3 minutes.
- Cancel saute and add ham hock, carrots, bay leaf, peas, bone broth, and 2 cups of water.
- Using the manual function, set cooking time for about 18-20 minutes at the high pressure setting. When done, allow pressure to release naturally. Careful releasing pressure! Keep you face away so your don’t get a hot steam facial!
- Add seasoning as needed and serve!